
Are you thinking about hatching eggs? The chicken egg hatching process is an exciting and rewarding endeavor. Whether you are hatching eggs from your own flock, adding new blood to your breeding program, or just getting started with poultry, there is a lot to keep track of during those three weeks.
This article covers the daily basics of properly incubating poultry eggs, with chicken eggs as the main example. Other poultry species have different incubation periods, so turning and lockdown dates need to be adjusted for the species you are hatching.
If you are working with a different species, compare equipment designed for goose eggs or turkey eggs before setting the batch.
Quick Overview
Start with clean, intact hatching eggs and a tested incubator. Keep temperature and humidity within the range recommended for your machine, turn the eggs on a regular schedule, and check them daily for cracks, leaks, odor, tray movement and normal incubator operation.
When turning chicken eggs by hand, turn them at least three times a day. Stop turning on day 18 so the chicks can move into hatching position during the final three days. (1), (2)
Temperature, humidity and hatch timing are covered in more detail in the linked guides below. This page keeps those topics brief so you can focus on the work you need to do each day.
Setting Poultry Eggs
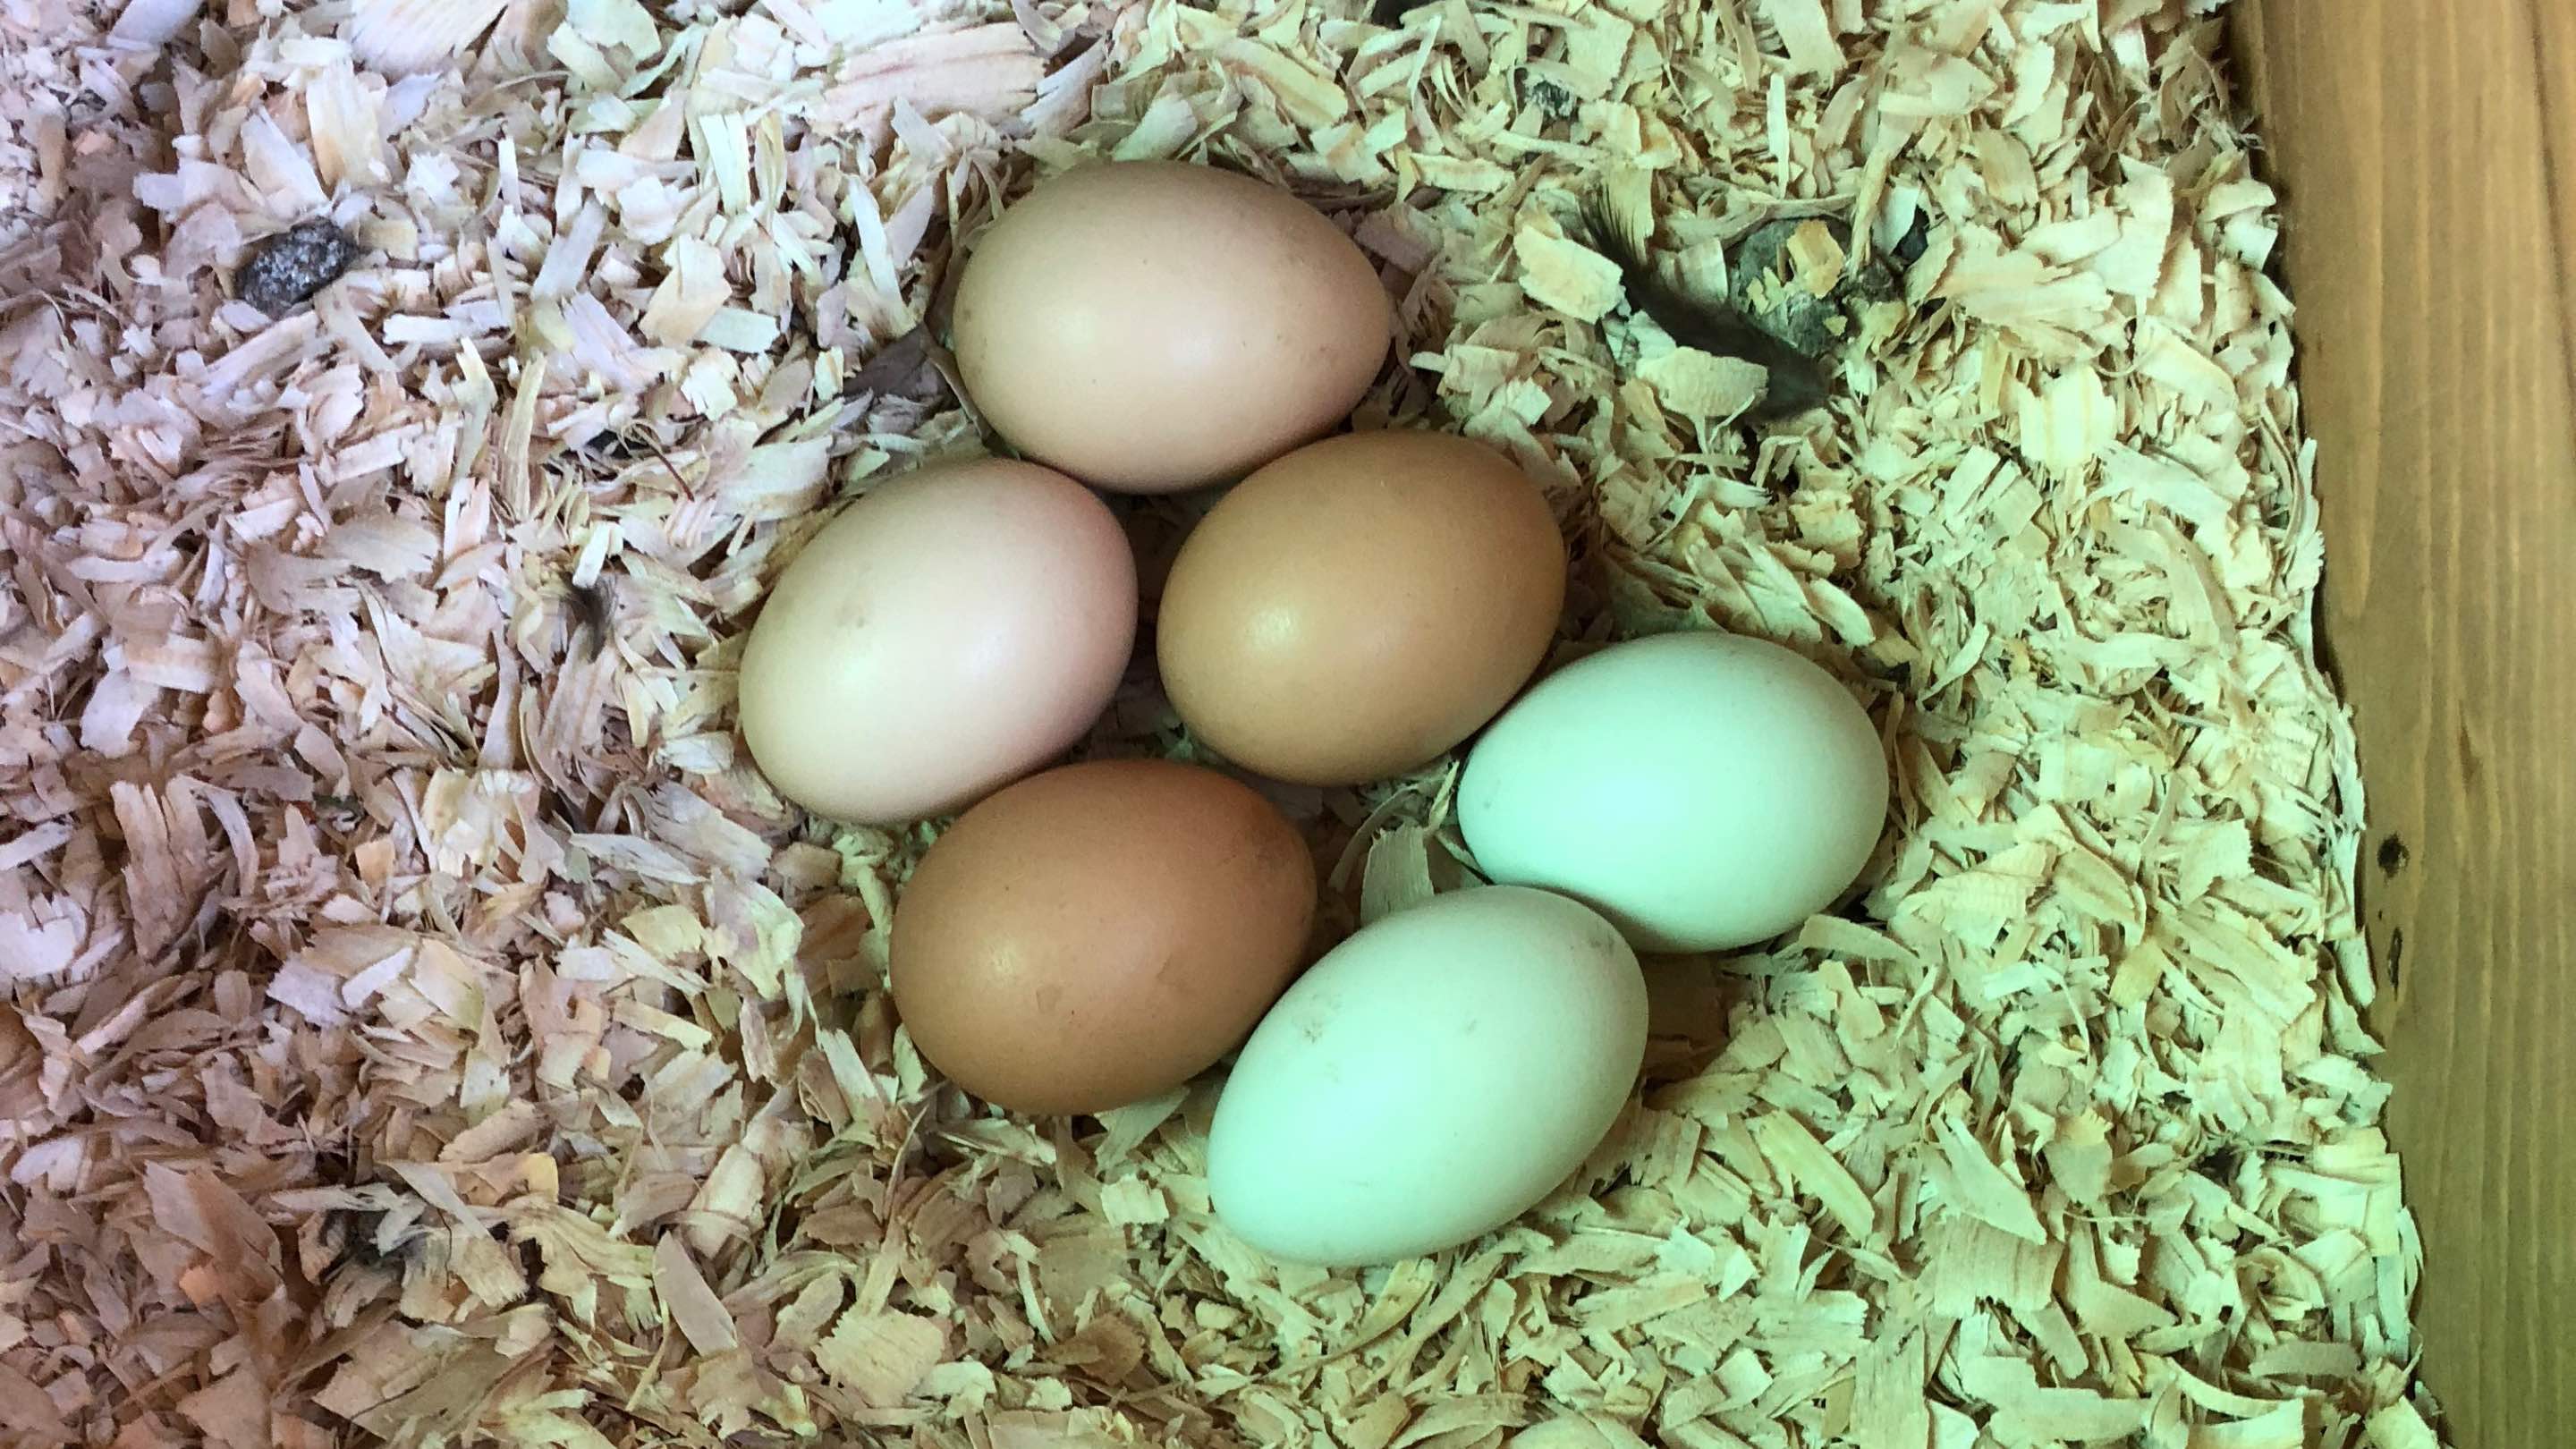
Fertile poultry eggs can be sourced from online hatcheries, local breeders, and breeder groups. When you purchase fertile hatching eggs, it is important to be aware that a 100% hatch rate is uncommon. Terry McGleish of Coturnix Corner says, “Too many variables at play on shipped eggs. 100% would be a good hatch rate, but as low as 25% would be acceptable.”
Only incubate clean eggs with intact shells. Do not set eggs that are cracked, leaking, badly misshapen or dirty enough to require washing.
If you are still deciding which machine fits your flock and batch size, start with our guide to choosing the right egg incubator. You can also compare the available egg incubators before setting the first batch.
Preparing the Incubator
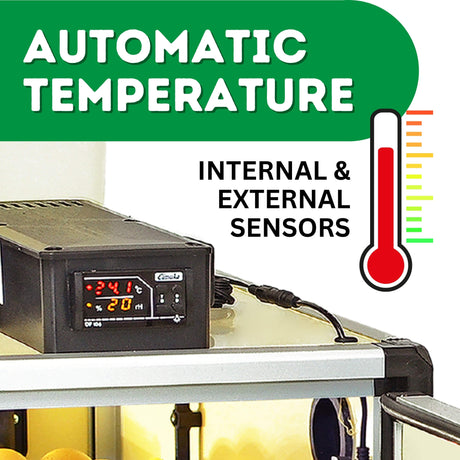
Before incubating your eggs, make sure the incubator is working properly. Run it before setting the eggs and give the display time to settle. Check the temperature, humidity, ventilation, alarms and turning system if the incubator includes one.
The two most important environmental factors are temperature and humidity. The correct settings depend on the incubator design and the stage of the hatch. Use the chicken egg incubation temperature and humidity guide for forced-air, still-air and lockdown settings.
A second thermometer or hygrometer gives you another point of reference, but it should not automatically be treated as the calibration standard. Keep the incubator out of direct sunlight and away from areas where the room temperature changes sharply.
Why Turning Eggs Matters
Once eggs are set, the incubation process begins. An important part of this process is turning or rotating the eggs to mimic the behavior of a setting hen.
If an egg stays in one position for too long, the developing chick can rest against the same area of the shell membrane. Eggs need regular movement, but they also need careful handling. The blood vessels developing during the first week are delicate, so turning should be slow and gentle. (1)
How Often to Turn Chicken Eggs
When turning eggs by hand, turn them at least three times a day. Five turns can work well if your schedule allows it. The turns should be spread through the day rather than done close together.
A simple three-turn routine might be:
- once in the morning
- once during the afternoon
- once before bed
Illinois Extension recommends three manual turns daily, while Mississippi State University Extension recommends four to six turns during incubation. (1), (2)
Why use an odd number of turns? Three or five turns change which side of the egg faces up overnight. The next morning, you begin with the opposite side showing.
How to Turn Eggs by Hand
When turning eggs manually, mark them with an “X” on one side and an “O” on the other to keep track of their position. Use a pencil and mark the shell lightly.
For example, if the “X” is visible, turn the egg until the “O” is visible. At the next turn, move it back until the “X” is showing again.
- Wash and dry your hands before touching the eggs.
- Open the incubator only when you are ready to work.
- Roll each egg gently onto its other side. Do not flip it end over end.
- Check the X and O markings so no egg is missed.
- Take care not to crack, shake or cause fractures in the shell.
- Close the incubator and let it return to its normal conditions.
Illinois Extension also recommends the X and O method and stresses that manually turned eggs should be rolled carefully to avoid shocks or jars. (2)
Egg Placement: On the Side or Pointed End Down?
Egg placement depends on the tray you are using.
Eggs turned by hand are usually placed on their sides. Keep the large end slightly higher and the pointed end slightly lower.
In an upright egg setter tray, place the egg with the large end up and the pointed end down. Never place an egg with the small end facing upward. The air cell is located at the large end, and the chick needs to remain correctly oriented for hatch. (1), (2)
| Setup | Correct placement | What to avoid |
|---|---|---|
| Manual turning | Eggs on their sides, with the large end slightly higher. | Leaving eggs standing upright or flipping them end over end. |
| Upright setter tray | Large end up and pointed end down. | Placing the pointed end upward. |
| Automatic rolling tray | Use the position required by the tray and incubator manual. | Forcing eggs into cups or spaces that do not fit their size. |

Automatic Turning: What to Check
An automatic turner takes care of the turning schedule, but it still needs to be checked. The motion is slow, so you may look through the incubator window and think nothing is happening.
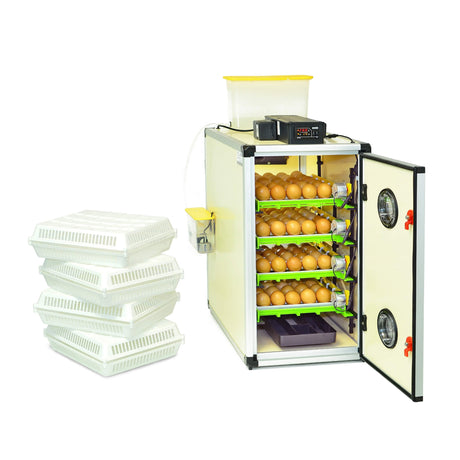
If you prefer an incubator with the turning system built in, compare our smart automatic egg incubators.
Before setting the eggs, run the turner and make sure the rack or tray moves without catching. After the eggs are loaded, look for anything that could block the mechanism. An oversized egg, a loose tray or a cable in the wrong place can interfere with movement.
For add-on turners, trays and other components used with an existing setup, see our DIY incubation equipment.
On a setup such as the Conturn 120 turning system, note the tray angle or take a quick photo. Check it again later instead of waiting to see the motor move in front of you. Hatching Time’s egg turner testing guide explains how to compare the rack position and check the power adapter.
Larger CT incubators with automatic turning also need a quick visual check during the hatch cycle. Automation reduces daily handling, but it does not replace checking the equipment.
Is the tray not moving as expected?
Check the rack position, power connection and possible obstructions before assuming the motor has failed.
Daily Incubation Checks
Try to check the incubator at roughly the same times each day. A quick routine makes it easier to notice a problem before it affects the whole hatch.
- Check the temperature and humidity displays.
- Look at the water level or reservoir if your model uses one.
- Make sure the vents are not blocked.
- Confirm that the eggs or turning tray have changed position.
- Look for cracked, leaking or damaged eggs.
- Pay attention to any unusual smell.
- Write down anything that changed.
Do not open the incubator more often than necessary. When you do open it for turning or candling, have everything ready so the eggs can be returned promptly.
Candling Eggs
Candling is the process used to check on the progress of developing eggs. It is best accomplished by shining a bright light under an egg in a dark room. The light illuminates the inside of the egg, allowing you to see the developing chick within.
Candling can be worked into the turning schedule so you do not need to open the incubator again later. Take out only a few eggs at a time and return them promptly. For clear eggs, blood vessels, air cell checks and day-by-day development, use the egg candling guide.
When to Stop Turning Eggs
Turn chicken eggs through day 18. Then stop.
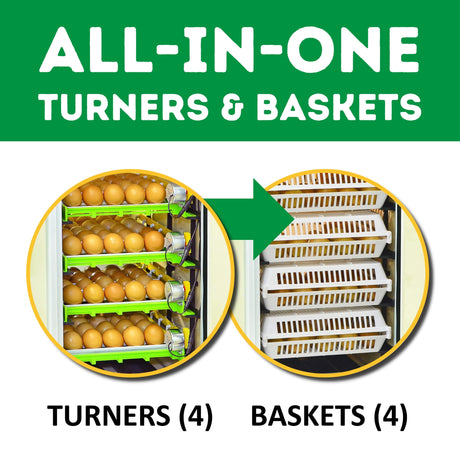
During the last three days, the chicks are moving into position for hatch and no longer need turning. If your incubator uses a removable turner, remove it according to the manual. If the eggs are moved into a hatching basket, keep different breeds or groups organized with the correct egg baskets. (1), (2)
What If You Miss a Turn?
A missed turn does not automatically mean the hatch is lost. Resume the regular schedule when you notice it.
Do not try to make up for the missed turn by rolling the eggs back and forth several times. One careful turn is enough. Then check your notes, timer or automatic tray so the same problem does not keep happening.
From Lockdown to Hatch
Once turning stops, the eggs enter lockdown. Follow the temperature, humidity and ventilation instructions for your incubator. The full settings are covered in the lockdown temperature and humidity guide.
Chicken eggs usually begin hatching around day 21, but not every egg follows the same clock. See the chicken egg hatching timeline for expected hatch dates, pipping and late eggs.
As tempting as it may be to help a chick after pipping, do not rush. Read when to help a chick hatch and when to wait before opening the shell.
Leave newly hatched chicks in the incubator until they are dry and fluffy. Avoid opening the machine repeatedly while other eggs are still pipping, since each opening releases heat and humidity.

Have the brooder ready before hatch day. Our guide to preparing chicks for the brooder covers the first move, while the chick brooding and growing collection includes equipment for the next stage.
After the hatch is complete, remove shells and debris and clean the incubator according to the manufacturer’s instructions. Let every part dry completely before storage or the next hatch.
Quick Daily Check Schedule
| Stage | Turning | Daily checks | What changes |
|---|---|---|---|
| Before setting | Test the turner or prepare the X and O markings. | Run the incubator and check temperature, humidity and alarms. | Do not add eggs until the machine is stable. |
| Days 1 to 7 | Turn by hand at least 3 times daily or verify automatic movement. | Handle gently and watch for blocked trays or damaged eggs. | The first week requires careful handling. |
| Days 8 to 17 | Continue the same schedule. | Check displays, water, ventilation and egg condition. | Candling can be worked into a normal turning check. |
| Day 18 | Stop turning chicken eggs. | Move eggs into the correct hatching position. | Lockdown begins. |
| Days 19 to hatch | Do not turn. | Follow the incubator’s lockdown instructions. | Watch and wait rather than opening the incubator unnecessarily. |
Properly incubating poultry eggs comes down to a steady routine. Start with good eggs, test the incubator, turn on schedule, check the tray and displays each day, and stop turning at the correct time.
For chicken eggs, the last turn is on day 18. After that, leave them in hatching position and follow the lockdown instructions for your machine.
References
- Mississippi State University Extension Service. “Important Incubation Factors.” https://extension.msstate.edu/agriculture/livestock/poultry/important-incubation-factors
- Illinois Extension. “Operating a Still Air Model Incubator.” https://extension.illinois.edu/operating-still-air-model-incubator
Written by: