
Table of Contents
- What Are the Steps in Processing a Chicken?
- Before Processing Day
- Step 1: Restrain, Slaughter, and Bleed
- Step 2: Scald the Chicken
- Step 3: Remove the Feathers
- Step 4: Eviscerate the Chicken
- Step 5: Rinse and Chill
- Step 6: Drain, Package, and Store
- Poultry Processing Equipment by Step
- Food Safety and Workspace Hygiene
- Common Poultry Processing Problems
Processing chickens at home is easier when every stage is planned before the first bird reaches the processing area. The basic sequence is straightforward: prepare the birds and workspace, restrain and dispatch the bird, scald, remove the feathers, eviscerate, chill, and package.
The details matter, though. Feed withdrawal affects contamination risk. Scalding temperature changes how easily feathers release and how well the skin holds up. And once the carcass is eviscerated, cooling it quickly becomes one of the most important food-safety steps.
If you are still planning your flock, our guide to raising chickens for meat covers breeds, feeding, housing, and growth before processing day.
This guide focuses on the processing workflow itself, with practical equipment options for backyard and small-farm poultry keepers.
What are the steps in processing a chicken?
- Withhold feed for a short period before processing while continuing to provide water.
- Prepare separate processing and clean-work areas.
- Restrain, dispatch, and bleed the bird using an appropriate method.
- Scald the carcass until the wing and tail feathers release easily.
- Remove the feathers by hand or with a mechanical plucker.
- Eviscerate carefully without puncturing the intestines or gallbladder.
- Rinse and chill the carcass to 40°F or below before packing.
- Drain, package, refrigerate, or freeze promptly.
Before Processing Day
A good processing day starts with preparation. University of Minnesota Extension recommends withholding feed for about 6 to 8 hours before slaughter while continuing to provide water. Reducing feed in the digestive tract helps lower the risk of contamination during evisceration.(1)
Have the entire setup ready before bringing birds into the processing area. That means enough ice, clean water, sharp knives, a thermometer, containers for feathers and offal, packaging, and the equipment needed for each stage.
Set Up the Work Area in Processing Order
One of the easiest ways to keep processing organized is to arrange the work area in the same order the bird moves through it. University of Minnesota Extension recommends separating the earlier, dirtier stages from evisceration, chilling, and packaging to reduce contamination risk.(1)
| Processing Area | Stages |
|---|---|
| First stage | Restraint and dispatch, bleeding, scalding, and feather removal |
| Clean stage | Evisceration, carcass washing, chilling, draining, and packaging |
Keep birds as clean as possible before processing as well. Dirt and manure on feathers can contaminate the scalding water and make the rest of the process harder to keep clean.(1)
If you plan to sell processed poultry: Check federal, state, and local requirements before processing day. Federal poultry-processing exemptions have specific conditions, and state requirements may differ.(4)
How to Process Chickens at Home Step by Step
Step 1: Restrain, Slaughter, and Bleed
Basic equipment:
- poultry killing cones or another appropriate restraint system
- A sharp knife suitable for poultry processing
- A container or drainage area for blood
A killing cone can hold the bird securely and limit uncontrolled movement during processing. It should be treated as a restraint tool rather than proof that a particular slaughter method is humane on its own.
Animal-welfare guidance from Virginia Tech notes that conscious throat cutting can cause pain, fear, and distress. Effective stunning before exsanguination is preferred from an animal-welfare perspective when the chosen method, training, and applicable regulations allow it.(2)
If a throat-cut method is used, use a sharp knife and follow a recognized poultry slaughter procedure so the cut is swift and controlled. Allow adequate bleeding before moving the bird to the scalder.
If you are deciding between cone materials, our plastic vs metal killing cone guide compares both options.
Step 2: Scald the Chicken
Scalding loosens the feathers before plucking. Temperature and time work together, so hotter water is not automatically better.
University of Minnesota Extension gives different ranges depending on the bird's age and species.(1)
| Bird | Scalding Temperature | Approximate Time | What to Watch For |
|---|---|---|---|
| Young chickens | 125-130°F | 30-75 seconds | Wing and tail feathers should release easily while the outer skin layer remains intact. |
| Older chickens | About 140°F | 30-75 seconds | Feathers release more easily, but the outer cuticle may come off and the skin becomes easier to tear. |
| Ducks and geese | 160-170°F | 1-2 minutes | Waterfowl feathers are harder to wet and remove than chicken feathers. |
Use a thermometer rather than guessing from steam or water appearance. Immerse and move the bird through the water so the feathers are heated evenly. Test a large wing or tail feather before moving to the plucking stage. If it still resists, re-dip the bird briefly rather than dramatically increasing the temperature.(1)
Higher scalding temperatures work faster but increase the chance of skin damage. Lower temperatures require more time but preserve the outer skin layer better.(1)
For a dedicated setup, you can compare our poultry scalders. The 16-Gallon Poultry Scalder with Manual Dunker uses a 1500W heating system and manual dunker to help maintain more consistent scalding conditions.

Step 3: Remove the Feathers
Once the bird has been properly scalded, start plucking immediately. Delaying after the scald can make feather removal harder.(1)
You can pluck by hand or use one of our poultry feather pluckers when processing larger batches.
If plucking by hand, start with the larger wing and tail feathers and then work around the rest of the carcass. Use controlled pressure rather than pulling large handfuls aggressively, which can tear the skin.
If using a mechanical plucker, follow the capacity and timing for the specific machine rather than using one processing time for every model or bird size. For example, the Chicken Feather Plucker - Large (3-4 Chickens) lists a plucking time of approximately 30-45 seconds for three to four small chickens.
Our food-grade feather plucker guide explains the differences between plucker construction, materials, and cleaning considerations.

Step 4: Eviscerate the Chicken
Basic equipment:
- Sharp eviscerating knife
- Poultry or kitchen shears
- Clean work surface
- Clean water
- A clean container for giblets you plan to keep
The main contamination risk during evisceration is cutting or rupturing the digestive tract.
Open the abdominal area carefully, free the vent without cutting into the intestine, and remove the internal organs with controlled movements. University of Minnesota Extension recommends keeping the knife close to the back and tail when cutting around the vent so the intestine remains intact.(1)
If you are keeping the giblets, separate the heart, liver, and gizzard. Take particular care around the gallbladder when removing the liver. The gizzard should be opened, cleaned, and have its inner lining removed.(1)
Check the body cavity for lungs, remaining organs, or contamination before moving the bird to the chilling stage.
Step 5: Rinse and Chill
After evisceration, wash the inside and outside of the carcass and move it into clean chilling water.
University of Minnesota Extension recommends chilling poultry in ice and water until the carcass reaches 40°F before packing.(1)
Use a thermometer rather than estimating by touch. Keep enough ice in the water to maintain an effective chilling temperature as warm carcasses are added.
Once the carcass has reached 40°F or below, remove it from the ice water and allow excess water to drain before packaging.
Step 6: Drain, Package, and Store
After chilling, package the bird in food-safe poultry bags or another appropriate freezer or refrigerator package. Refrigerate or freeze promptly after packaging.(1)
NDSU recommends chilling home-slaughtered poultry below 40°F for about 6 hours for broiler-fryers and 24 hours for older birds before freezing.(3)
Do not put a large batch of warm birds directly into a home freezer. Chill the carcasses first so the freezer does not have to cool a large quantity of warm poultry at once.(1)
Poultry Processing Equipment by Step
You do not need the same equipment setup for every flock. Someone processing a few chickens may use a simple scalding container and pluck by hand. Larger batches make dedicated cones, scalders, and pluckers much more useful.
| Processing Stage | Equipment |
|---|---|
| Restraint | Poultry killing cones or processing stand |
| Scalding | Poultry scalder, thermometer, and timer |
| Plucking | Hand-plucking tools or mechanical feather plucker |
| Evisceration | Sharp knife, poultry shears, clean table, and giblet container |
| Chilling | Food-safe container, ice, clean water, and thermometer |
| Packaging | Food-safe poultry bags or freezer packaging and labels |
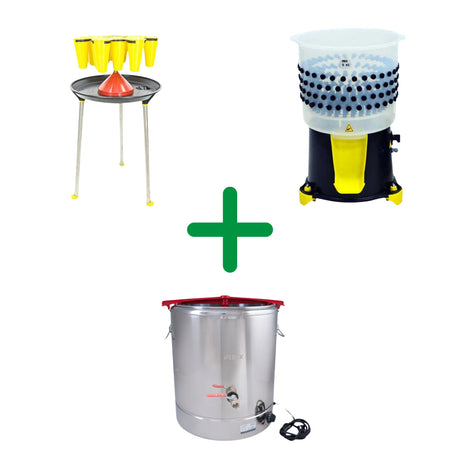
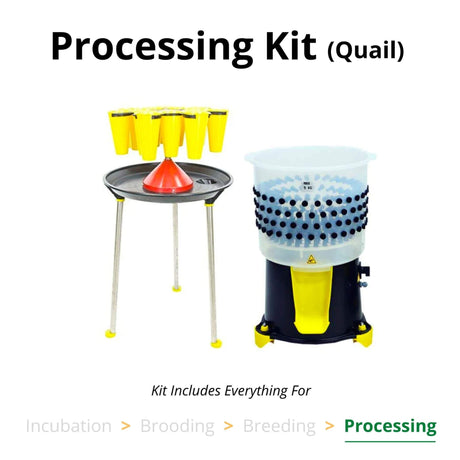
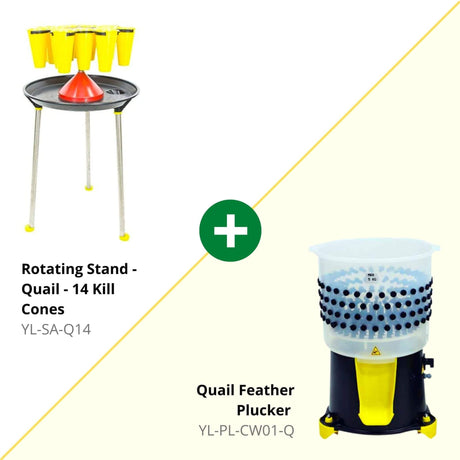
If you want to buy several processing stages together, the poultry processing kits combine cones or processing units with scalding and plucking equipment.
For higher-volume chicken processing, the Large Chicken Processing Kit includes a three-cone processing unit, an X-Large feather plucker rated for up to 8-10 chickens per cycle, and a 26-gallon stainless steel poultry scalder with a manual dunker.
Food Safety and Workspace Hygiene
Processing poultry creates several opportunities for cross-contamination, so the layout and cleanup plan should be part of your setup before processing begins.
- Wash hands regularly: Wash before processing, after handling raw carcasses or offal, and before handling clean packaging.
- Keep knives sharp: A properly sharpened knife is easier to control than a dull blade.
- Clean and sanitize equipment: Wash tools and working surfaces after contact with raw poultry and sanitize them with an appropriate food-contact sanitizer.
- Separate dirty and clean stages: Keep slaughter, scalding, and feather removal away from the evisceration, chilling, and packaging area when possible.
- Use practical protective clothing: Cleanable footwear, an apron, gloves where appropriate, and splash or eye protection can make the work safer and easier to clean up.
- Control waste: Have dedicated containers for blood, feathers, and offal before starting.
- Keep carcasses cold: Once processing reaches the chilling stage, monitor temperature rather than leaving carcasses at ambient temperature.
University of Minnesota Extension emphasizes hand washing, equipment and surface cleaning, clean water, and an orderly processing workflow to reduce contamination.(1)
Common Poultry Processing Problems
Why are the feathers difficult to remove?
The bird may not have been scalded long enough, the water may have cooled, or the temperature may not suit the age and species of the bird. Test the large wing or tail feathers before plucking. If they still resist, re-dip the bird briefly.(1)
Why is the skin tearing during plucking?
Over-scalding can weaken the skin, especially at higher temperatures. A mechanical plucker can also damage the carcass if it is overloaded or if the bird is left in longer than the manufacturer recommends. Start by checking the scald before assuming the plucker is the problem.
Why is my scalding water getting dirty quickly?
Birds that enter the processing area with manure or heavy dirt on the feathers contaminate the scald water more quickly. Keep birds clean during the pre-processing holding period and change processing water when needed.(1)
What if the intestines are punctured during evisceration?
Stop and clean the contaminated area and equipment rather than continuing as though nothing happened. Careful vent removal and shallow, controlled cuts reduce the chance of puncturing the digestive tract in the first place.(1)
How quickly should processed poultry be chilled?
Move the carcass into chilling water after evisceration and washing. The goal is to bring the carcass temperature to 40°F before packaging.(1)
References
- University of Minnesota Extension. Home Processing of Poultry.
- Virginia Cooperative Extension. Animal Welfare Considerations for On-Farm or Backyard Slaughter of Poultry.
- North Dakota State University Extension. Food Freezing Basics: Freezing Poultry and Fish.
- USDA Food Safety and Inspection Service. Poultry Exemptions Under the Federal Poultry Products Inspection Act.
Written by:

Aryeh Wiesel