If you’re new to raising quail, one of the first things you might wonder is how incubating quail eggs compares to hatching chicken eggs. As a quail farmer, I get this question all the time.
The truth is, the process is quite similar, but there are a few important differences that can make or break your hatch rate. Quail eggs are more sensitive to temperature changes, so maintaining a stable environment is critical.
To help new and experienced quail keepers alike, I’ve created this simple step-by-step guide to incubating quail eggs successfully.
Preparing Your Eggs for Incubation
Before placing eggs in the incubator, give them time to settle, especially if they were shipped.
- Let shipped eggs rest pointy end down for 12–24 hours before incubation.
- Place your incubator in a location with stable temperature.
- Avoid placing it near windows, vents, or drafty rooms where temperature can fluctuate.
- Run your incubator 12–24 hours before adding eggs so the temperature stabilizes.

Incubator Settings
Proper settings are key to a successful hatch.
- Temperature: 99.5°F
- Humidity: 45%
It’s also wise to verify your incubator’s readings.
Using a secondary hygrometer helps ensure your humidity levels are accurate. A hygrometer is a scientific instrument used to measure the moisture content, or humidity, the digital versions are useful for the incubation process.
Days 1–14: The Incubation Period
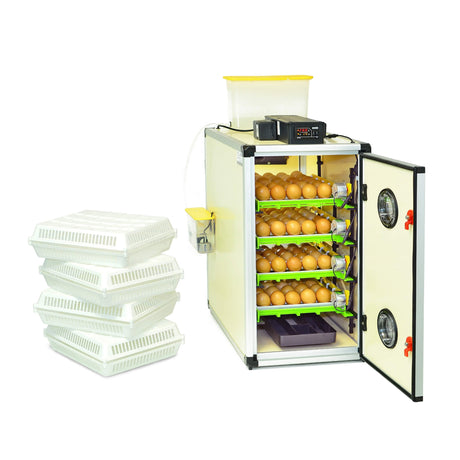
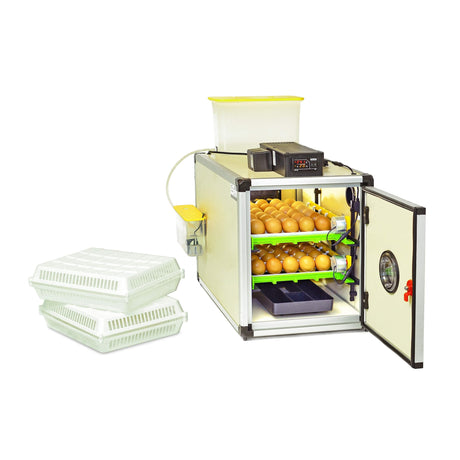
Once your eggs are ready, place them in the quail egg incubator.
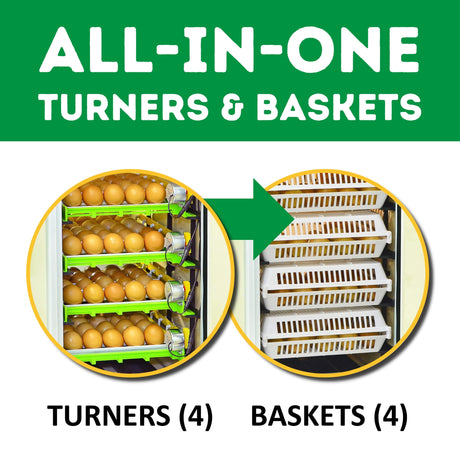
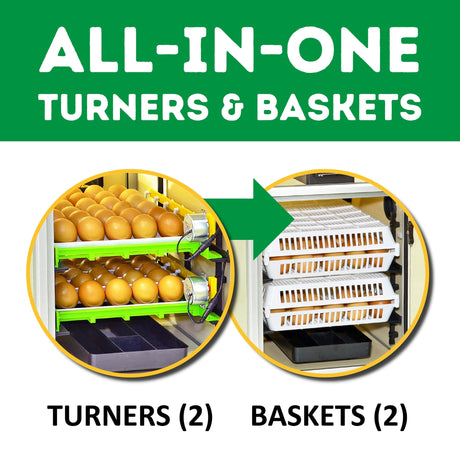
Use an automatic egg turner if possible.
If turning eggs manually, rotate them regularly throughout the day.
⚠️ Important: Opening the incubator frequently to turn eggs can cause temperature and humidity changes that reduce hatch rates. For this reason, an automatic egg turner is strongly recommended.
During the first 14 days:
- Maintain 99.5°F temperature
- Maintain 45% humidity
Small fluctuations are normal:
- Temperature: ±0.5°F
- Humidity: ±5%
Consistency is the key to healthy embryo development.

Day 15: Lockdown
Day 15 is known as “lockdown.” This is when you prepare for hatching.
- Remove eggs from the egg turner.
- Place them in the hatching basket or directly on the incubator floor (depending on your incubator model).
- Increase humidity to 65%.
- Close the incubator and do not open it again until the hatch is complete.
Preventing Splay Leg
Never allow chicks to hatch on a hard plastic surface.
This can lead to splay leg, a condition where chicks cannot stand properly.
Instead, line the surface with:
- A rubber shelf liner (best option)
- Or at least a thick paper towel
Rubber liners are inexpensive and can often be found at local dollar stores.

After the Hatch
Once chicks begin hatching, leave them in the incubator for a while so they can dry and gain strength.
- Chicks can remain in the incubator up to 72 hours
- However, it’s usually best to move them after about 48 hours
Moving Chicks to the Brooder
When moving chicks to the quail brooder:
- Set the brooder temperature to 95°F
- Reduce the temperature by 1°F each day as the chicks grow
This gradual adjustment helps them adapt safely.
Final Tips for Successful Quail Hatching
Quail eggs are more sensitive to temperature changes than chicken eggs. Even small fluctuations can affect hatch success.
For the best results:
- Use a high-quality incubator
- Monitor humidity with a secondary hygrometer
- Keep conditions as stable as possible
With the right setup and careful monitoring, you can dramatically improve your hatch rates and enjoy raising healthy quail chicks.
If you still have questions about incubating quail eggs, feel free to reach out on Facebook at Judd’s Quail. Happy hatching! 🐥