
Table of Contents
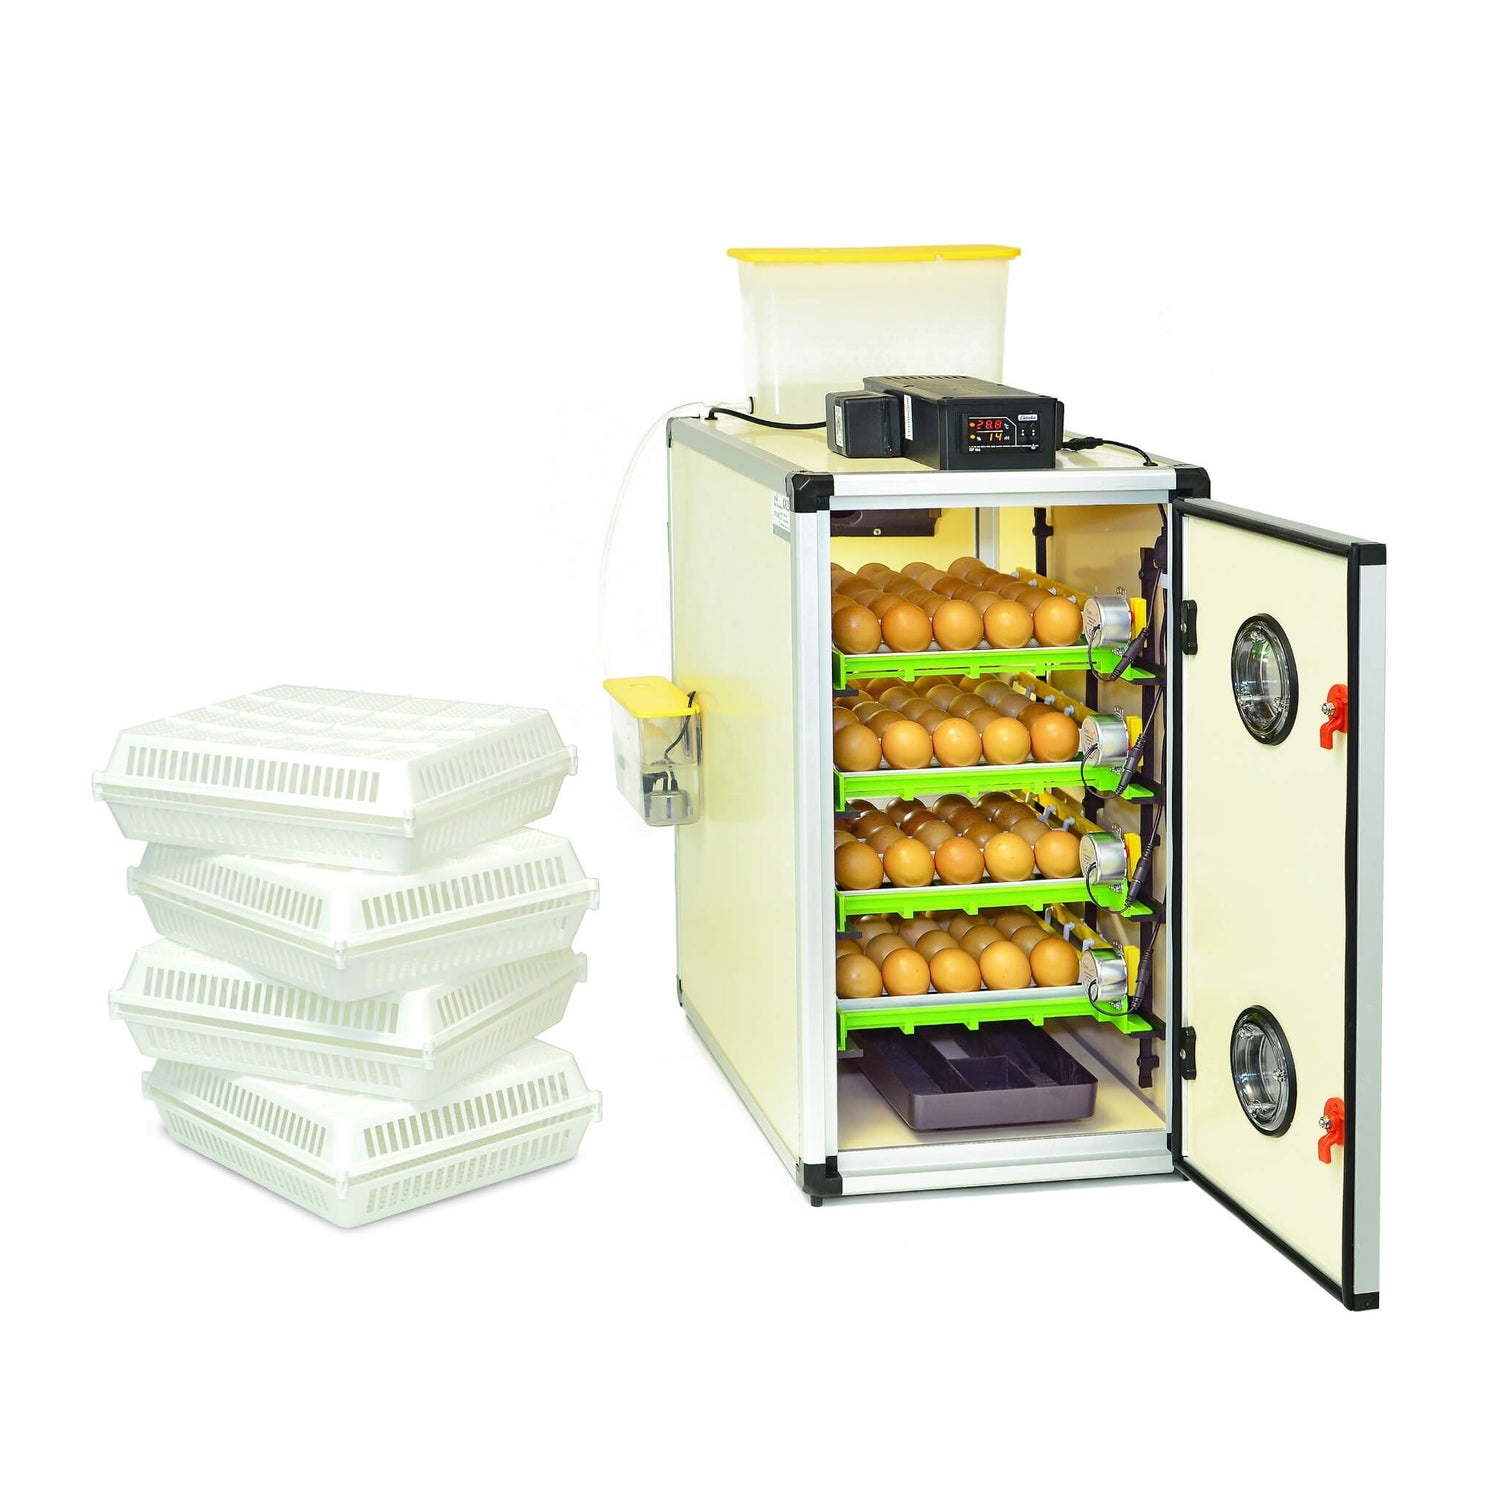
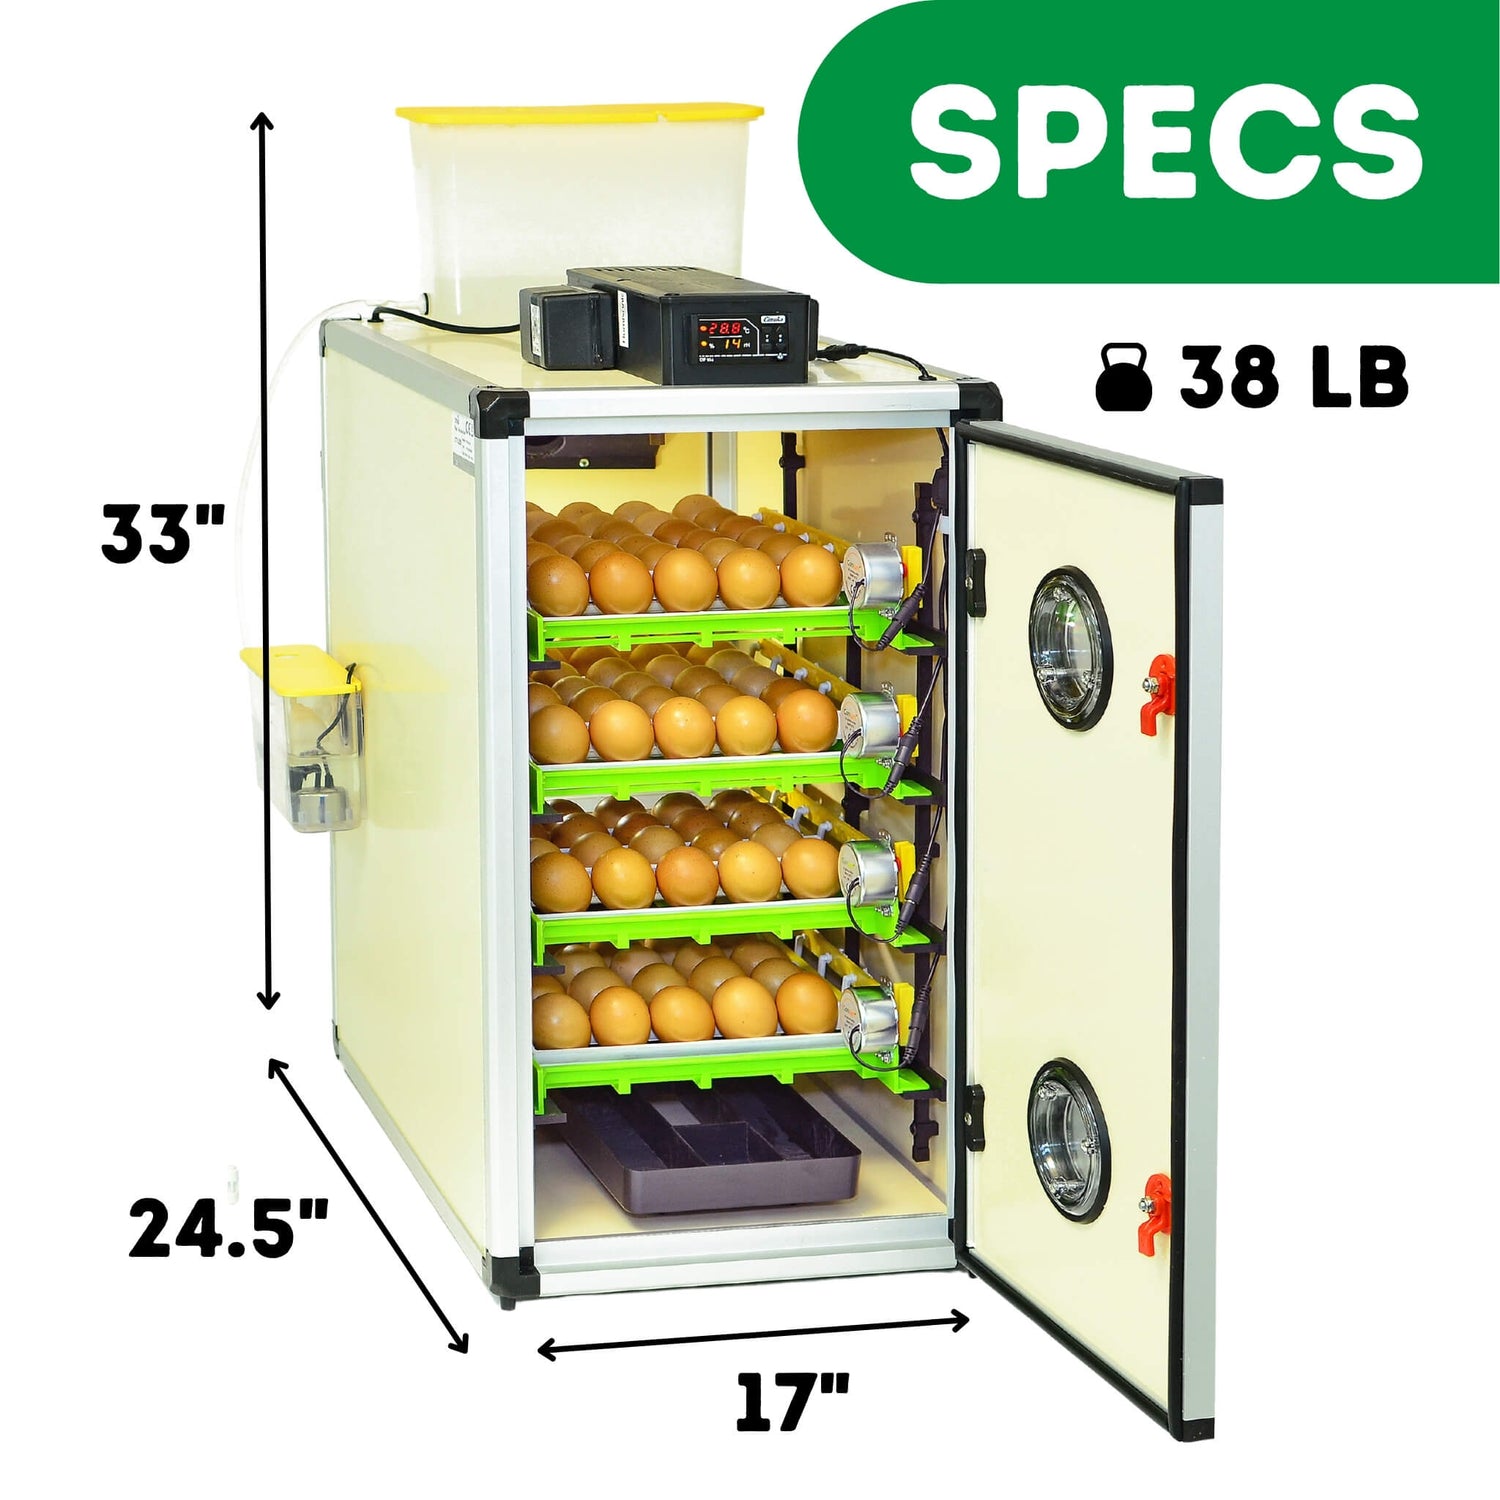
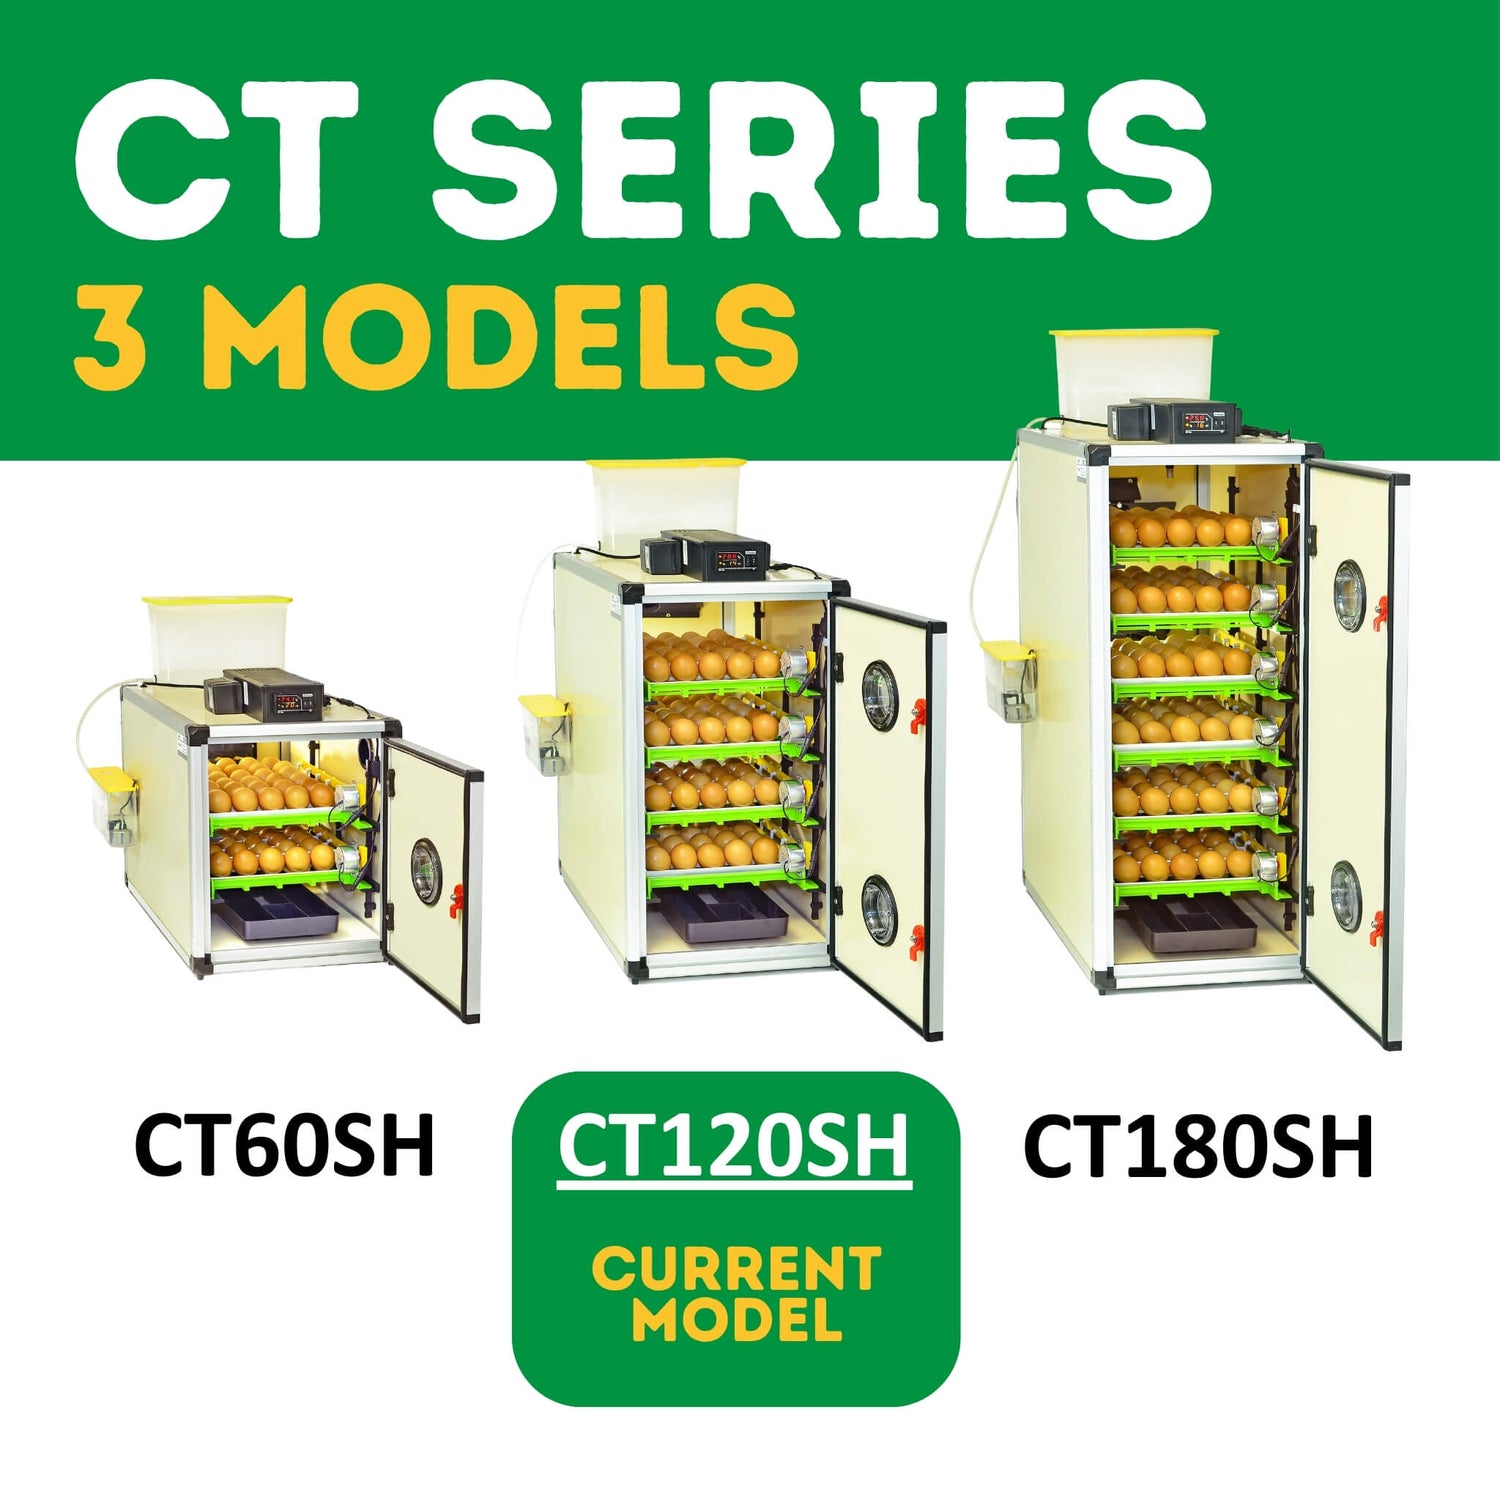
I've been using the Hatching Time CT120 incubator and 4-tier quail brooder for approximately eight months. I've completed five hatches so far and have raised around 300 chicks in the brooder.
I live in Overton, Nevada, about 50 miles northeast of Las Vegas. We have a very dry climate here, and the summers get extremely hot. We currently raise Jumbo White, Jumbo Brown and Jumbo Red Pansy Coturnix quail.
I've learned quite a few things during those five hatches, and this is my experience with the CT120 and the 4-tier Hatching Time quail brooder.
My Experience With the CT120 Incubator
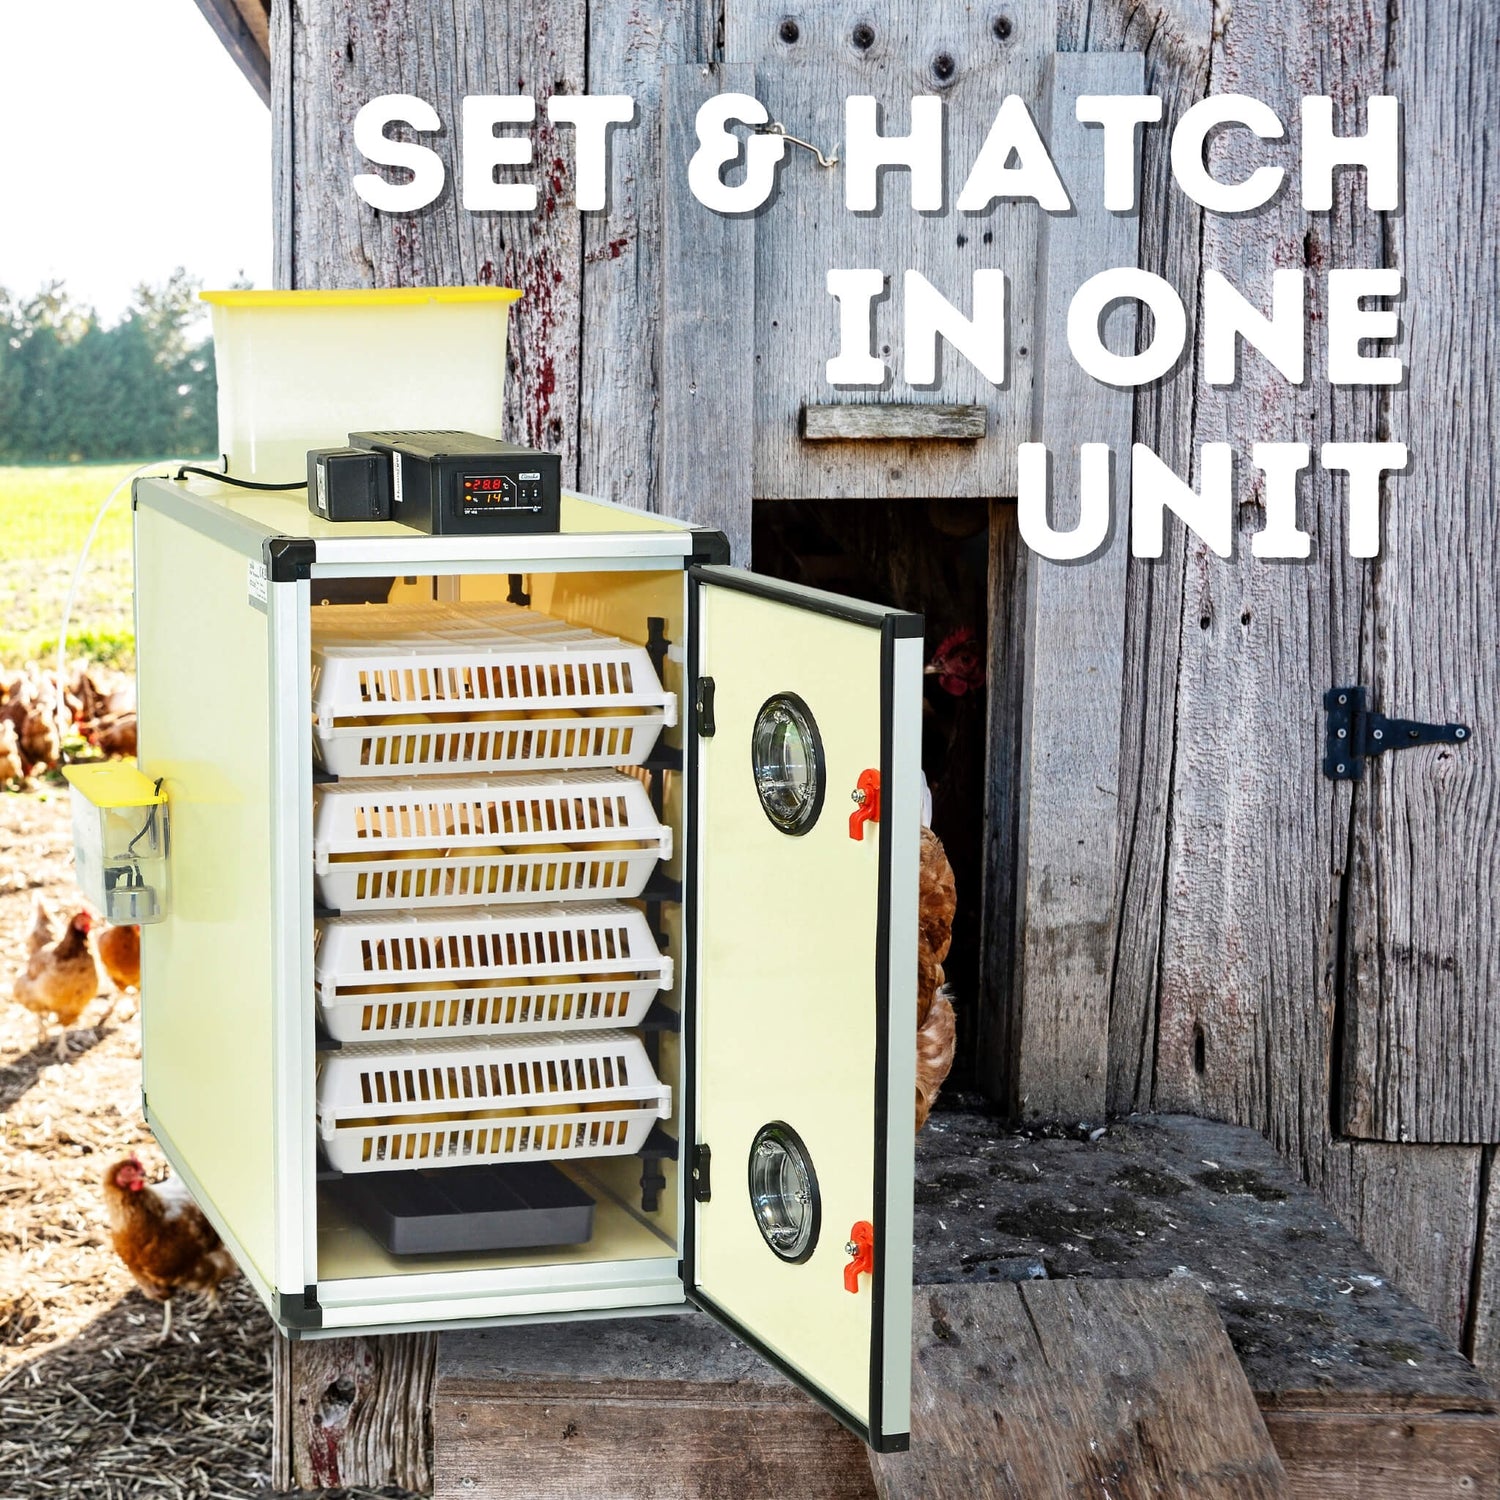
I have found the CT120 incubator to be an outstanding tool.
You hear people say they want a "set it and forget it" incubator. For me, the CT120 has been pretty close to that.
Because Overton is so dry, when I first started using the CT120 I thought I would need to keep water in the removable tray at the bottom of the incubator. During my first hatch, I tried to keep that tray filled.
I found that I didn't need to.
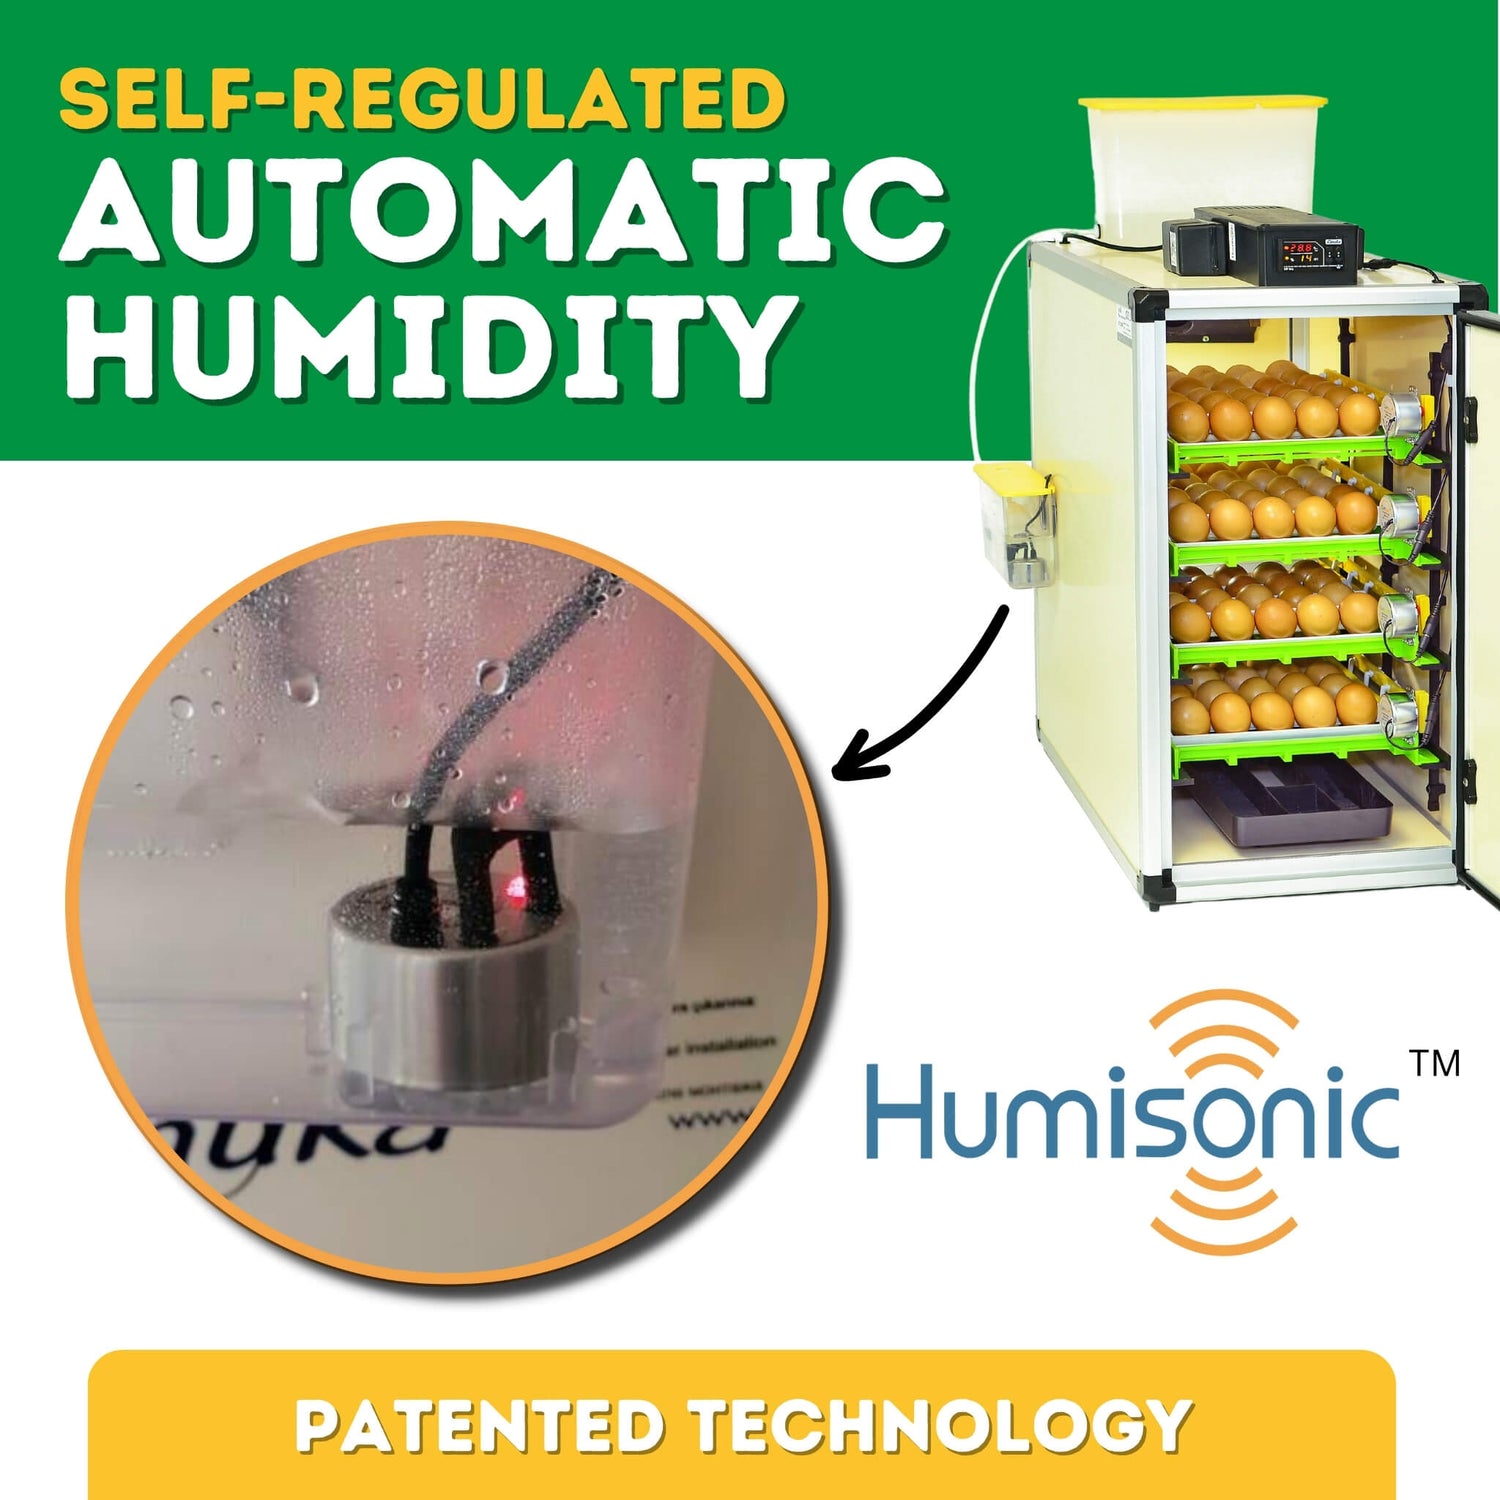
As long as I maintained the water level in the reservoir for the humidifier, the CT120 was able to maintain the humidity I had set without me adding water to the bottom tray. That has been my experience using it here in Nevada. The CT120's Humisonic humidity system supplies humidity from the upper reservoir, while the bottom pan can provide additional humidity support when needed.
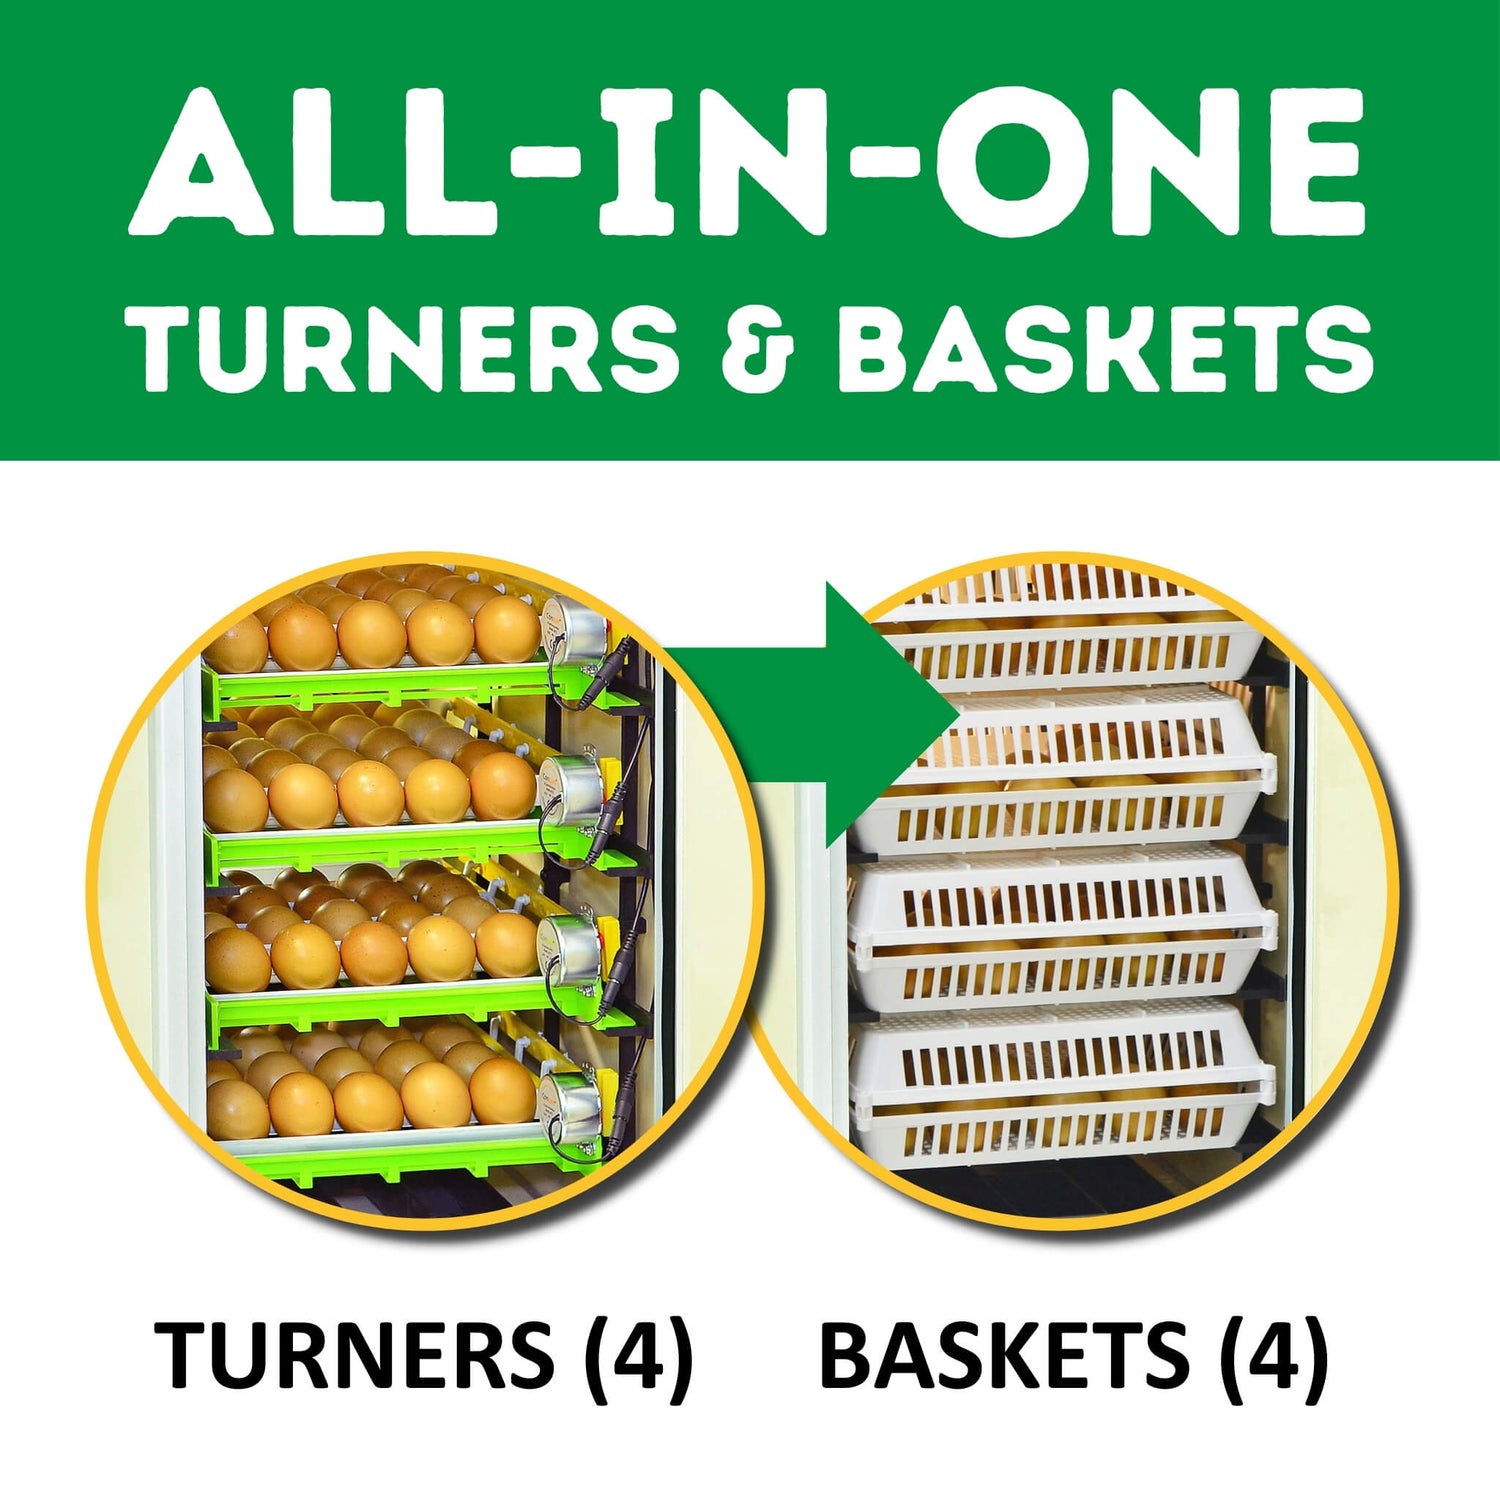
For my Coturnix eggs, I set the temperature at 99.5°F and the humidity at 45%. On Day 15, I take the eggs out of the egg turner, place them in the hatching baskets and raise my humidity to 75%.
Hatching Time note: Jim is describing the settings he uses for his own hatches. Hatching Time's current Coturnix quail incubation guide recommends 99.5°F to 100°F in a forced-air incubator and about 45% to 55% humidity during Days 1 through 14. Turning stops at the beginning of Day 15. The guide uses around 65% as a lockdown reference point and recommends adjusting for the incubator, ventilation and room conditions rather than treating one humidity number as universal.
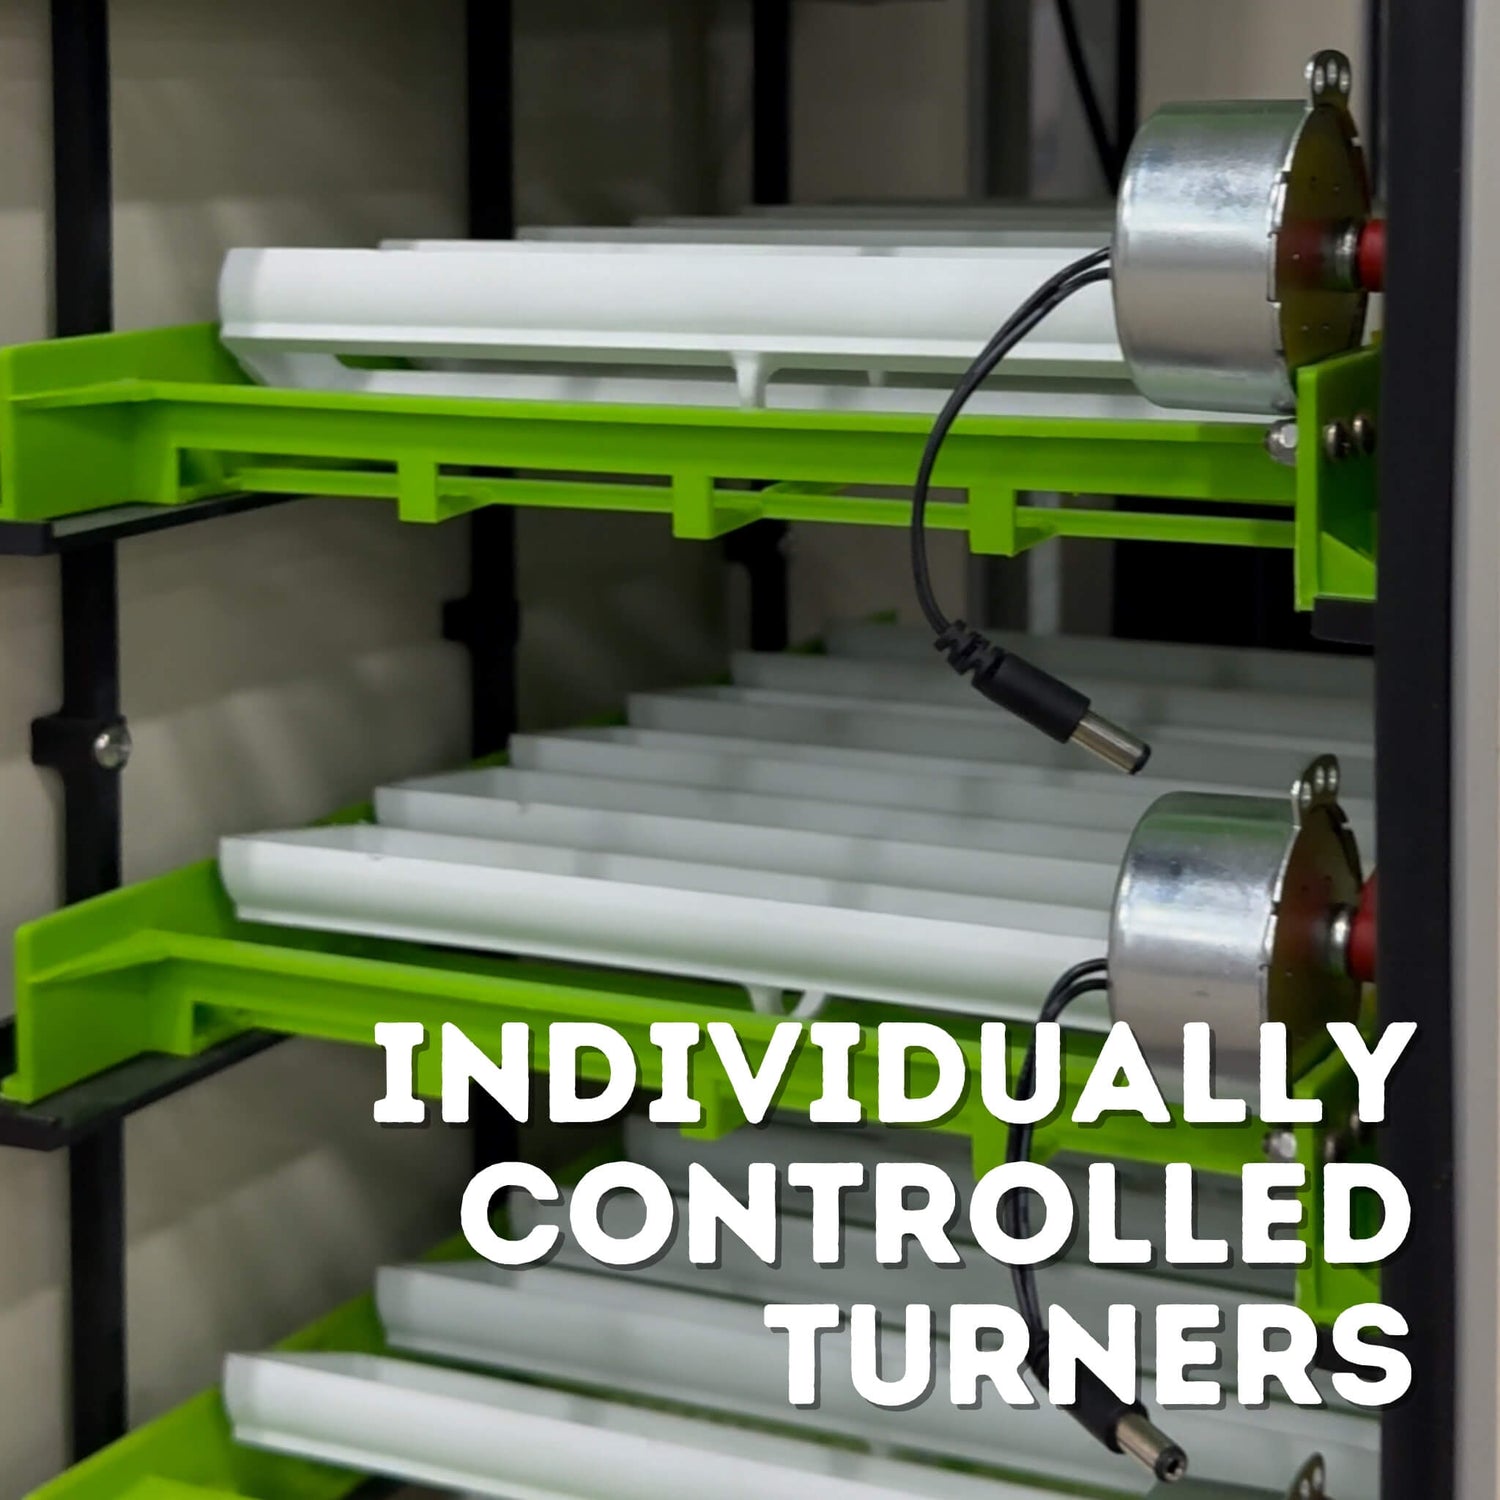
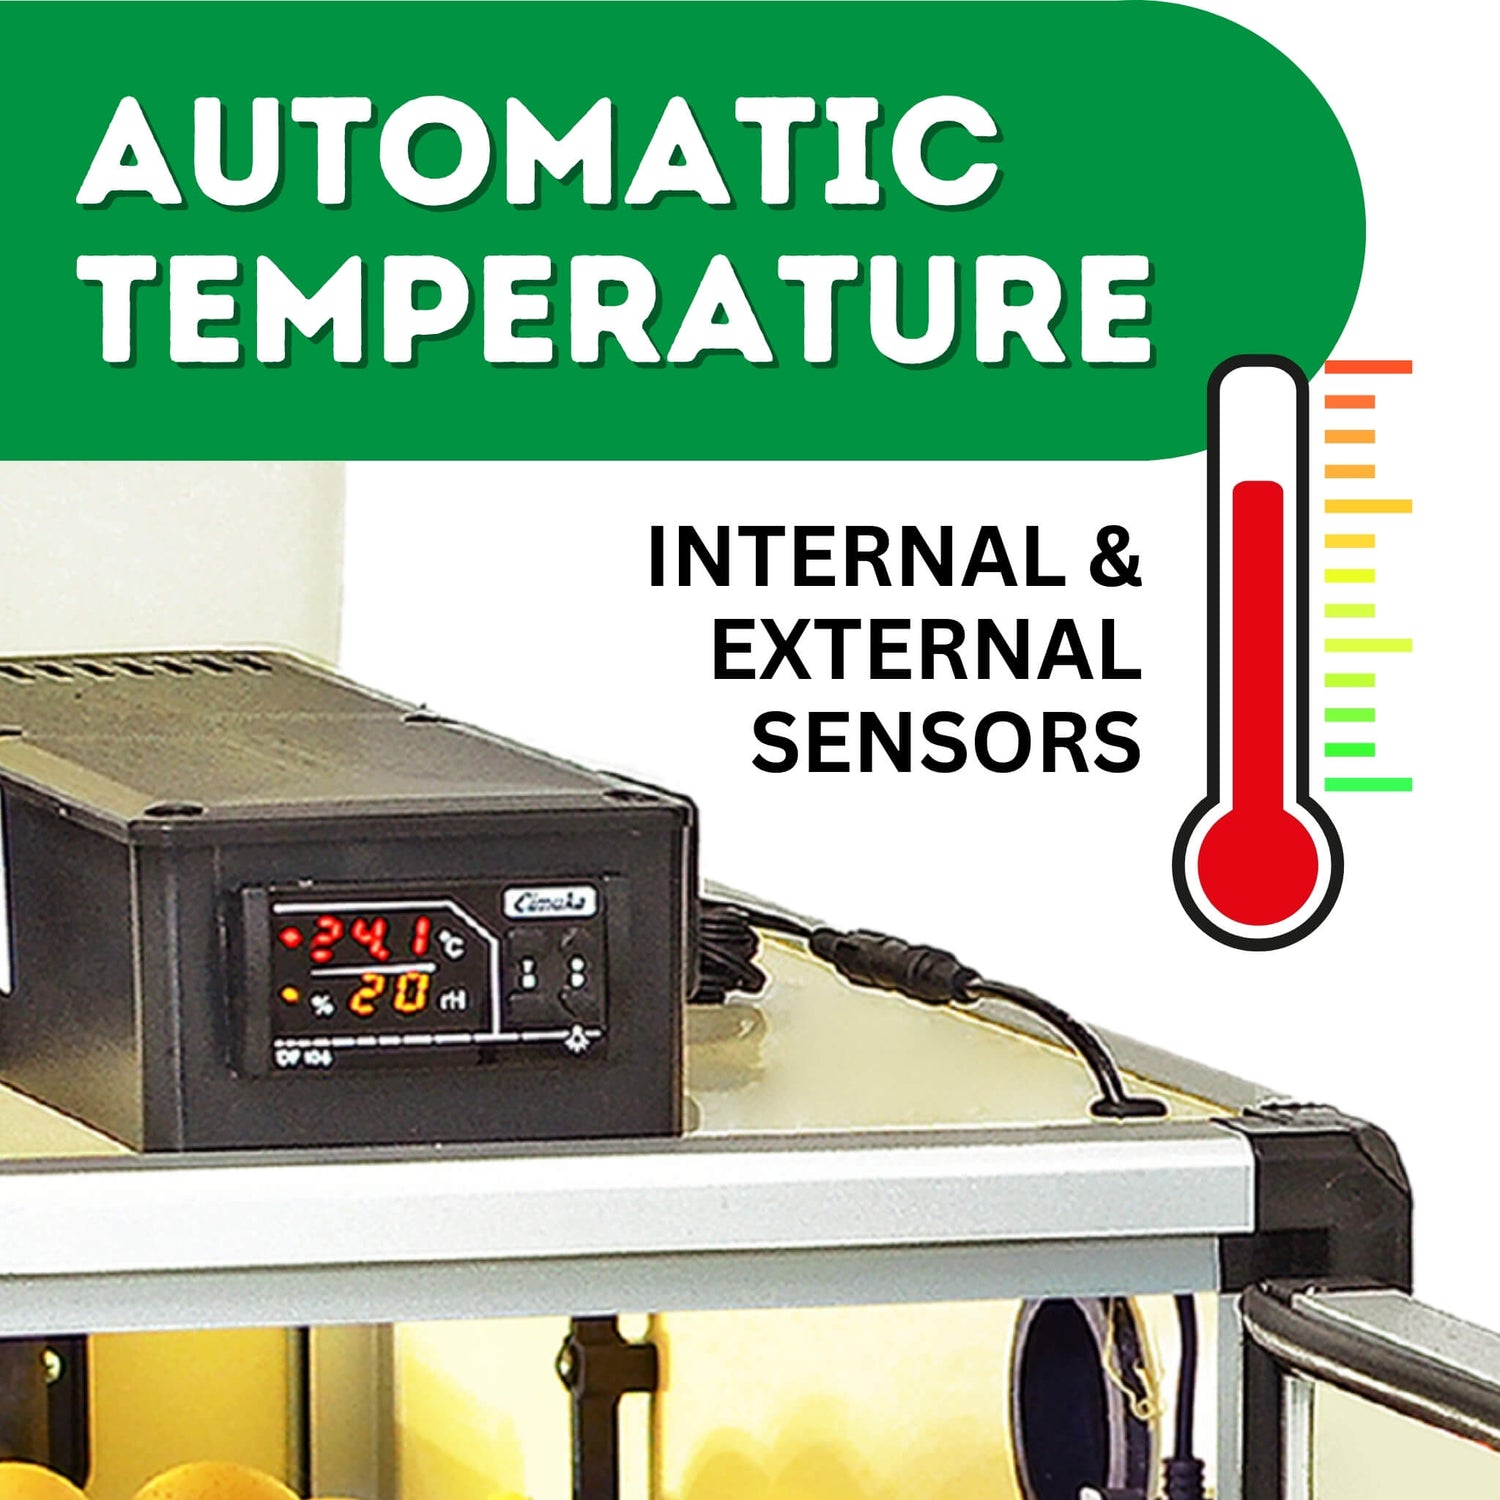
For me, the CT120 has been a turnkey incubator. I keep an eye on the water reservoir, temperature and humidity, but I haven't had to constantly make adjustments to keep the conditions where I want them.
Hatching Time's quail egg incubator collection includes both tabletop and cabinet-style options for different hatch sizes. If you're preparing for your first hatch, the first-time egg incubator guide also covers testing, tray setup, lockdown preparation and getting the brooder ready before hatch day.

Using the QT13 Racks With Jumbo Coturnix Eggs
I ordered the QT13 quail egg racks from Hatching Time, but I ran into a problem because I raise Jumbo Coturnix.
The racks were a little small for some of my eggs.
I ended up finding someone online who makes larger trays for Jumbo Coturnix eggs. The Jumbo tray I use holds nine eggs, so there is more room around each egg. Those trays have worked well for me.
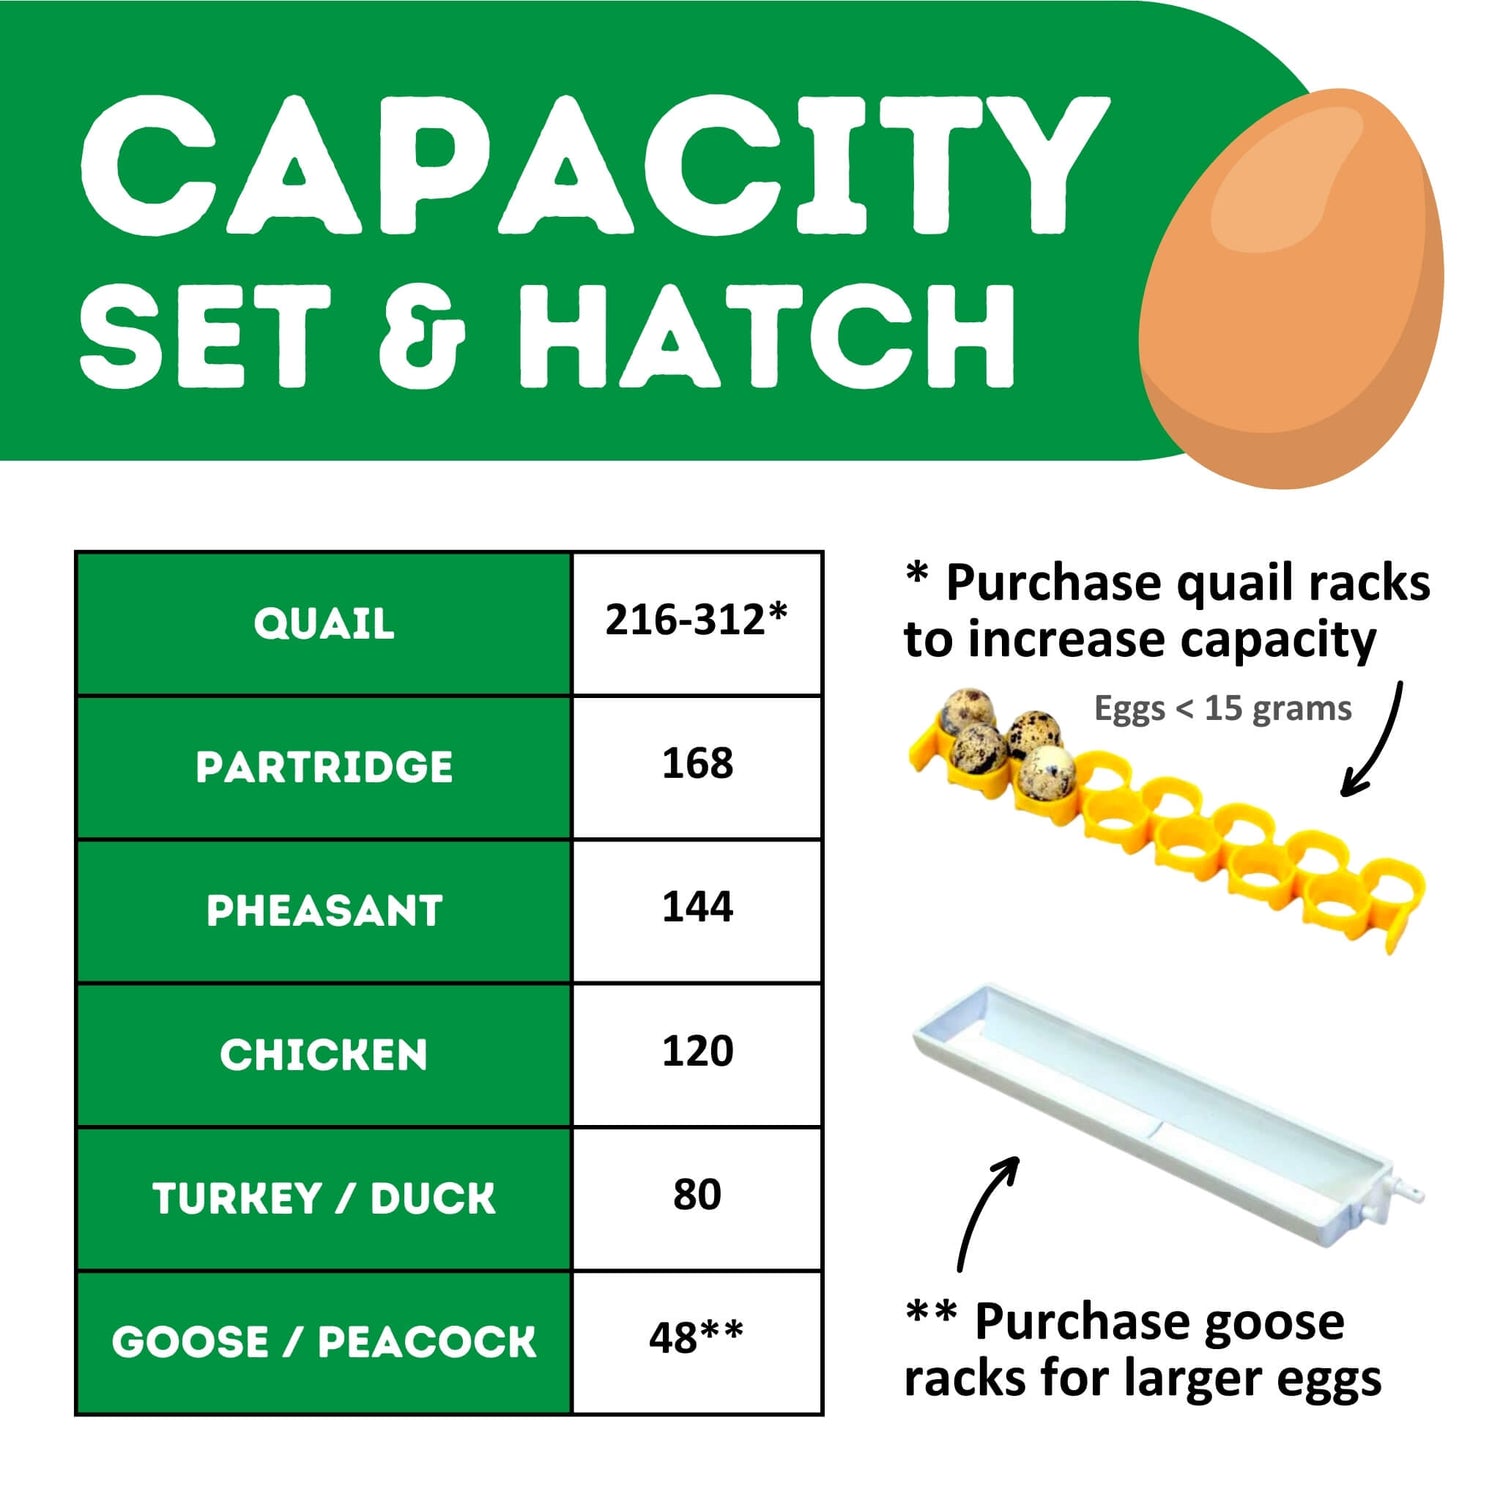
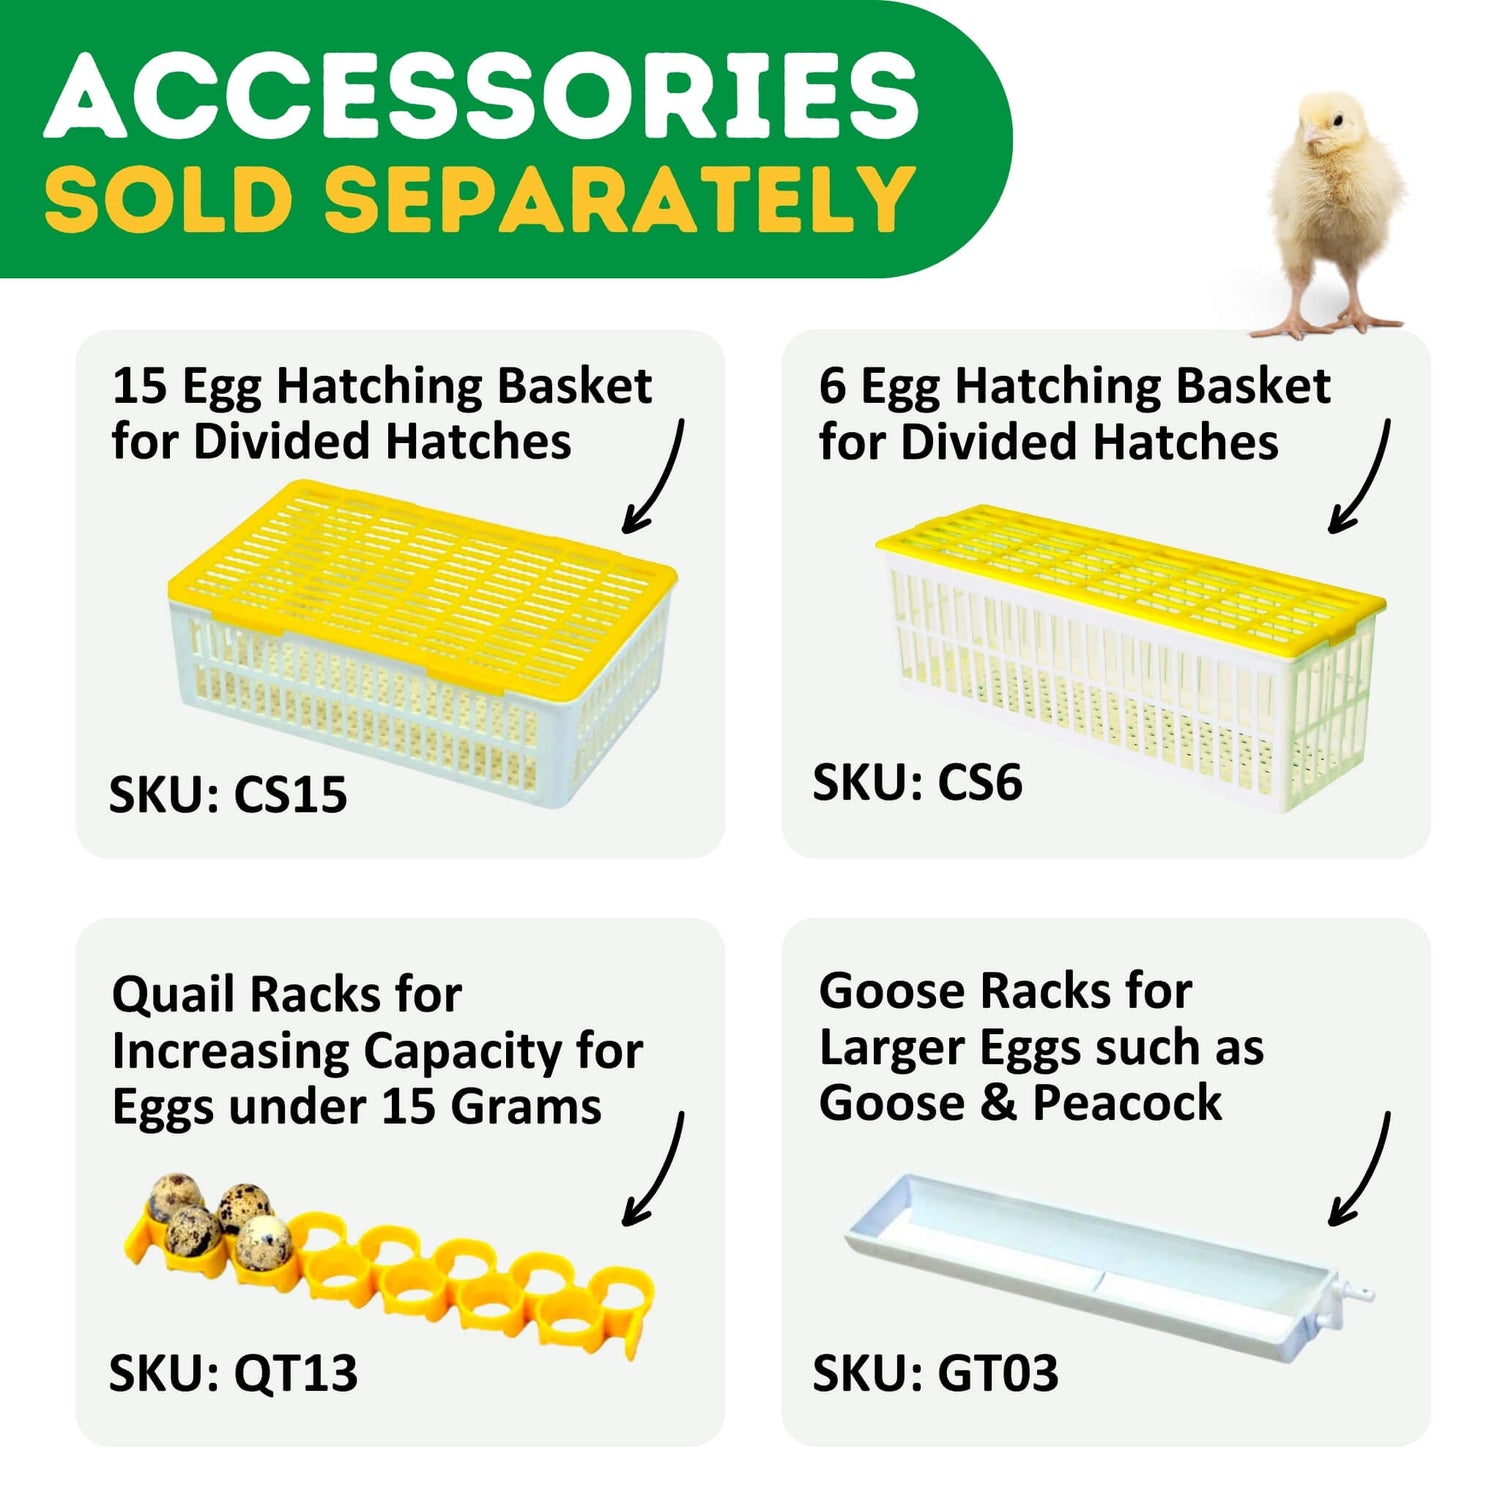
Hatching Time note: The Quail Egg Rack - Attaches to Conturn Egg Setter (QT13) increases each standard Conturn rack from 9 to 13 quail eggs and is recommended for eggs under 15 grams. Hatching Time specifically notes that the QT13 is not suitable for larger Jumbo Coturnix eggs. Egg size varies, which is why Jim found that some of his Jumbo eggs needed more room.
Lockdown and Early-Hatching Quail Chicks
When it comes to hatching quail, there is something I still struggle with.
The common advice in the quail-raising world is that once your eggs are on lockdown, you shouldn't open the incubator until the hatch is finished.
The problem I've had is that some of my chicks hatch earlier than the others.
I've had to make the decision between taking those early chicks out and leaving the incubator closed while the rest of the eggs hatch.
Unfortunately, I've had losses both ways.
I've removed early chicks and caused problems with eggs that had not finished hatching. I've also lost early birds after leaving them in longer while I waited for the rest of the hatch to finish.
That's what makes this part difficult for me. It isn't something I've only worried about. I've experienced problems from both decisions.
Opening an incubator during an active hatch can cause the humidity to drop very quickly. Mississippi State University Extension explains that after a chick has pipped, a drop in humidity can dry the membranes inside the egg and cause them to stick to the chick.
Penn State Extension's general guidance for newly hatched domestic fowl says chicks can live on the unabsorbed yolk in their bodies for about 72 hours if necessary, although getting them into a prepared brooder with feed and water within about 24 hours is preferable. This is general poultry guidance rather than a quail-specific 72-hour recommendation.
The full Coturnix incubation timeline covers turning, lockdown, hatch timing and the move from incubator to brooder in more detail.

My Experience With the Hatching Time Quail Brooder
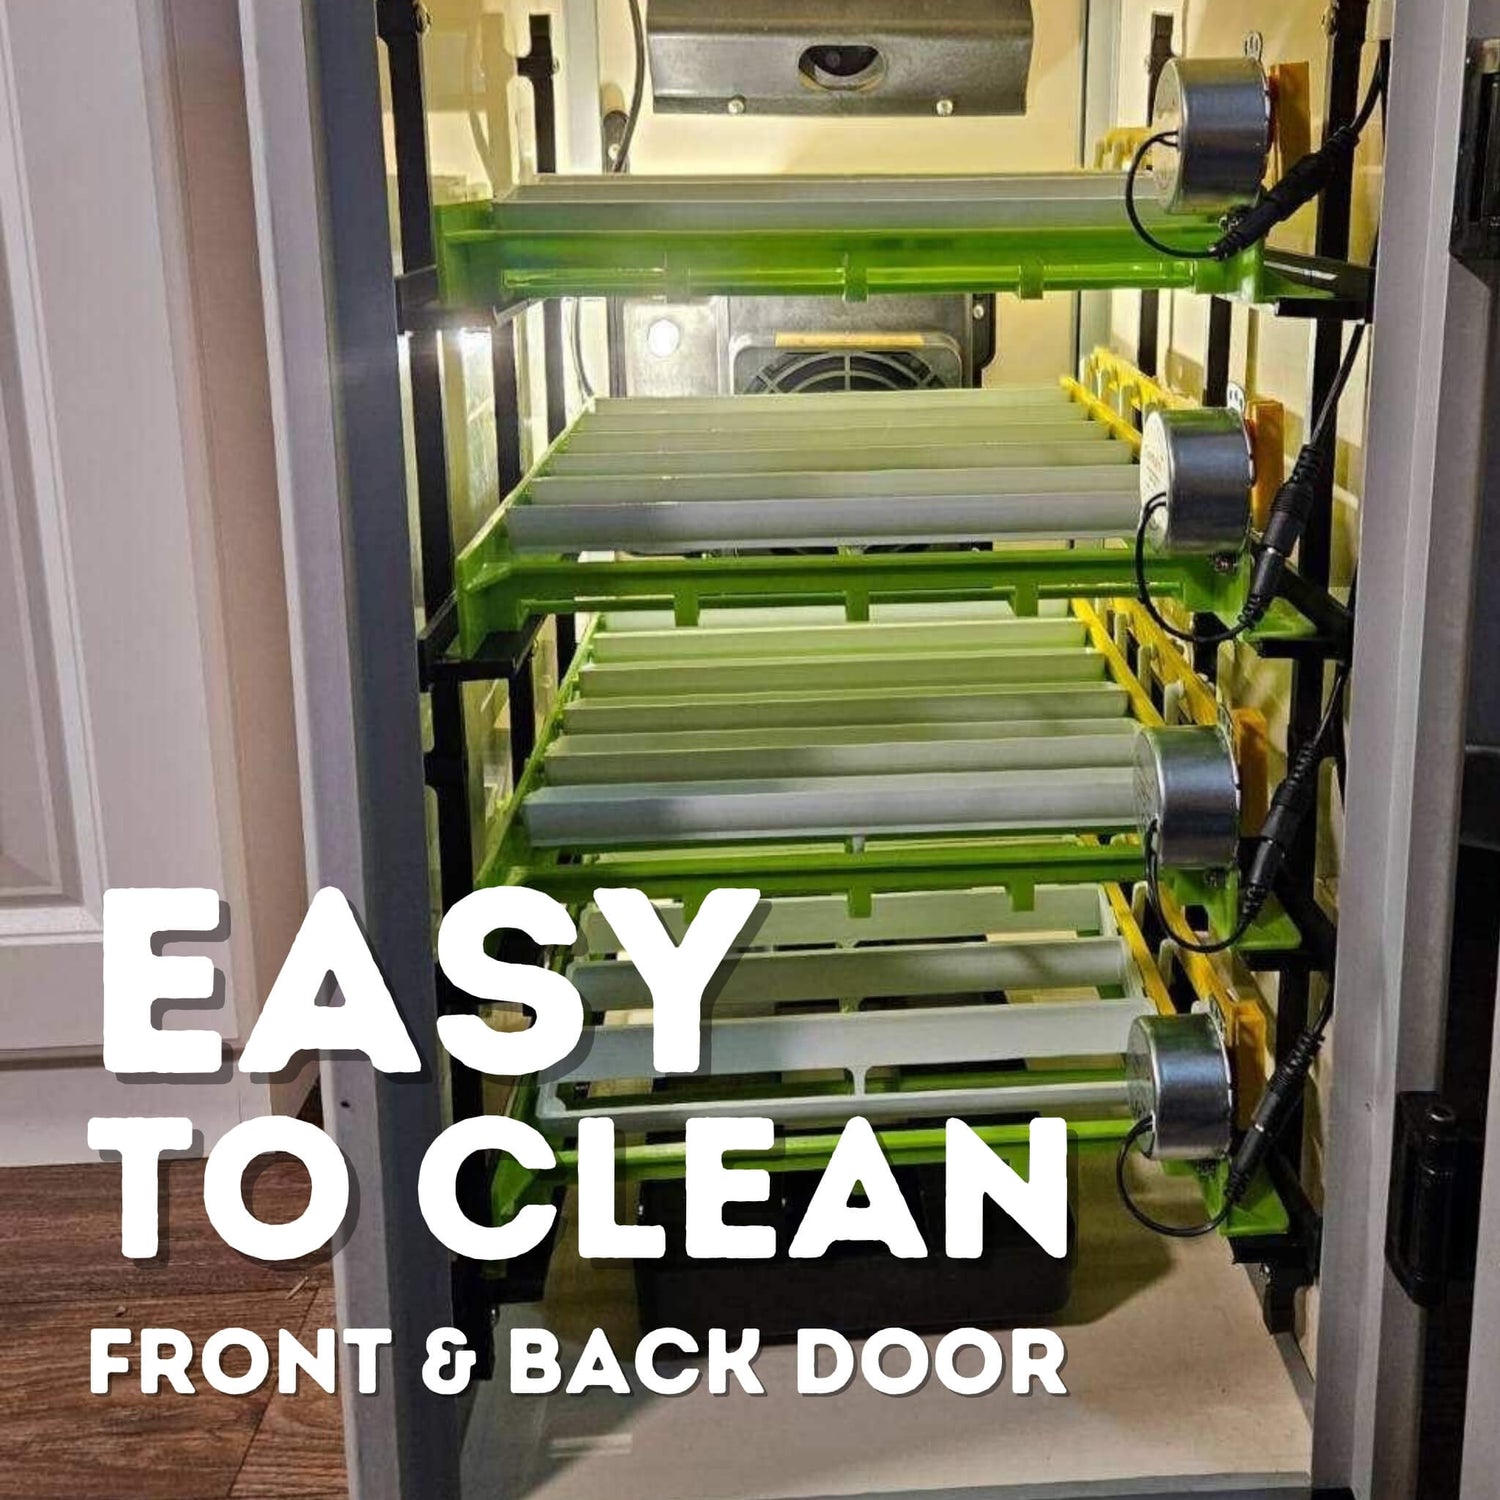
I've been using the Hatching Time Chick Brooder - 4 Layer H: 9.5" (CB25-03-4K) for approximately eight months. I've run the chicks from the same five hatches through it, which comes to approximately 300 chicks.
Overall, the brooders have done a great job for me. But there are some things I've learned along the way that might help other people using this type of brooder.
Hatching Time's 9.5-inch brooder collection is designed for smaller game birds such as quail, partridge and pheasant. The Quail Brooder vs. Chick Brooder guide also explains how the shorter quail models differ from taller chick brooders.
Light Bulbs
The Hatching Time brooders have a place for a light bulb at the end of each heater.
The light bulbs aren't included, and this is where I made one of my bigger mistakes.
I originally installed bulbs that put off heat. I lost several birds because the cages became too warm.
After that, I switched to 1.5-watt LED bulbs that put off very little heat. That worked better in my setup because the lights were no longer adding as much additional heat inside the brooder.
Hatching Time note: Hatching Time recommends an A19 LED daytime bulb rated at 12 watts. The bulb should not be treated as the brooder's heat source. The built-in heater creates the warm zone, and chicks need enough space to move away from that zone when they are warm. If the brooder is still becoming too warm after the temperature is adjusted, a bulb that gives off less heat can be used. Jim's 1.5-watt bulb is what worked in his own setup, not Hatching Time's standard bulb recommendation.
For quail specifically, Mississippi State University Extension recommends a brooder temperature of about 90°F to 95°F during the first week, then reducing it by about 5°F each week. Chicks moving away from the heat, panting and becoming drowsy can indicate that the brooder is too warm, while sharp chirping and huddling can indicate that they are too cold.

Floor Covering
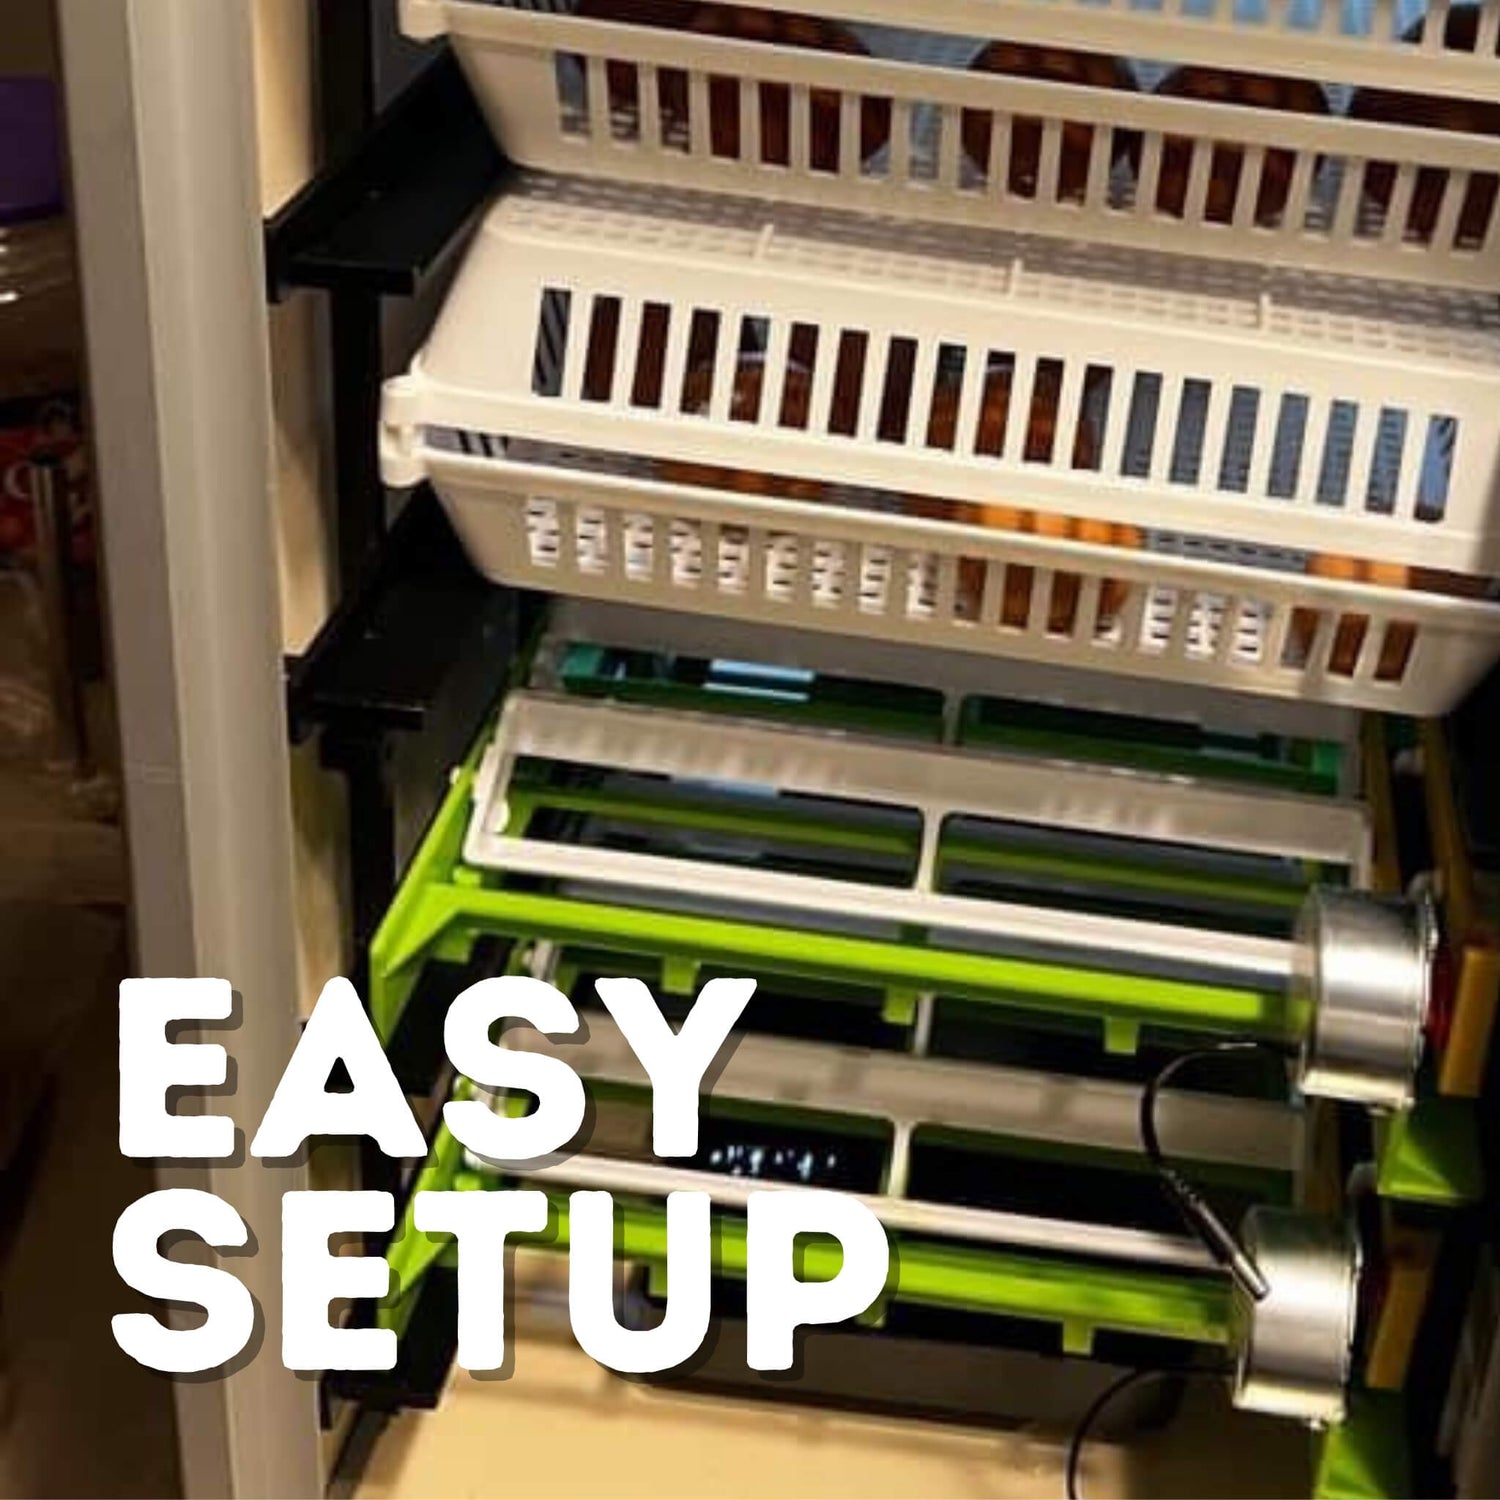
The brooders come with black plastic mats that can be used as flooring when the birds first come out of the incubator.
I don't use the mats. I use large blue shop paper towels instead because they're easier for me to clean.
I put the paper towels down before the chicks go into the brooder. When the cage needs to be cleaned, I can remove the paper towels and throw them away.
With my chicks, this has usually been around Day 3. At that point, I've found that they are able to navigate the mesh cage floor.
Hatching Time note: Hatching Time generally recommends keeping chicks on a secure surface for about 5 to 7 days, or until they are walking steadily and have developed good leg strength. The timing depends on the chicks. Jim's Day 3 transition is what he has done with his birds, rather than a recommended Day 3 rule for every hatch.
Other poultry guidance is more conservative about how long young birds need additional footing. Virginia Cooperative Extension recommends textured paper towels, cloth towels or burlap for the first two weeks and notes that game birds are particularly susceptible to leg problems on slippery surfaces. It also recommends checking wire brooders to make sure the openings are small enough that young birds cannot get their hocks caught. Because recommendations vary, chick stability and safe footing matter more than using one date for every group.
Watering Cups
I use the free-standing watering cups that come with the brooder for approximately the first five days.
After that, I remove them and let the chicks use the adjustable automatic waterers.
I start the automatic cups at their lowest position. As the chicks grow, I raise them a little every few days. This helps keep them from standing in the cups and making an even bigger mess.
The free-standing cups take up space, and they take more time to clean and manage, so I like to get the chicks onto the automatic system when they're ready.
Hatching Time note: There isn't an official transition day for moving quail chicks to the automatic drinkers. Around five days is common, but the chicks need to be large enough to reach and use them properly. Jim's five-day schedule is his own routine.
Feed
When I first put the chicks into the brooder, I pour a couple of small scoops of food directly onto the paper towels. This makes it easy for them to find the feed right away.
I also make sure the feed bin is filled before the chicks go in.
They will jump right into the bins. When they're small, an empty bin can create a problem because they may not be able to get back out.
They also spend a lot of time standing in the feed, so it gets dirty pretty quickly.
I found a small mesh scoop that works well for sifting contaminants out of the food. That lets me clean it up without throwing away as much good feed.
There was one more problem I had to solve.
When I lifted the mesh cover to clean or add food, chicks would try to jump out through the feeding area. I started hanging the orange feed-saving mesh over that entrance with a couple of hog rings while I was working.
It keeps the chicks from getting out while I'm cleaning the bin or adding food.
It's simple, but it has worked for me.
What I've Learned After Five Hatches
The CT120 incubator has been an amazing product for me, and I highly recommend it.
The Hatching Time quail brooder has also been a great setup. Once I worked through a few things, especially the lighting, floor covering, watering cups and feeding area, it became much easier for me to manage the chicks.
I've completed five hatches with this equipment so far and put approximately 300 chicks through the brooder.
I wrote this to share what I've learned about hatching, feeding, watering and the timing of some of the things I do with the incubator and brooder.
References
- Mississippi State University Extension Service. Pipped Eggs That Do Not Hatch .
- Penn State Extension. Brooding of Domestic Fowl .
- Mississippi State University Extension Service. Temperatures Recommended for Brooding Quail .
- Jacobs, Leonie, and Philip J. Clauer. Virginia Cooperative Extension, Virginia Tech, and Virginia State University. Leg and Foot Disorders in Domestic Poultry .
Written by:

Jim Watson
Poultry Enthusiast & Expert
After raising chickens at different points over the years, Jim began raising Jumbo Coturnix quail. His flock includes Jumbo Whites from Myshire Farms and Jumbo Browns and Jumbo Red Pansies from Conecuh Creek Quail. When he isn't working with his birds, he enjoys hunting, fishing and spending time with his family. His experience in this article comes from eight months of using the CT120 and 4-tier quail brooder across five hatches and approximately 300 chicks.